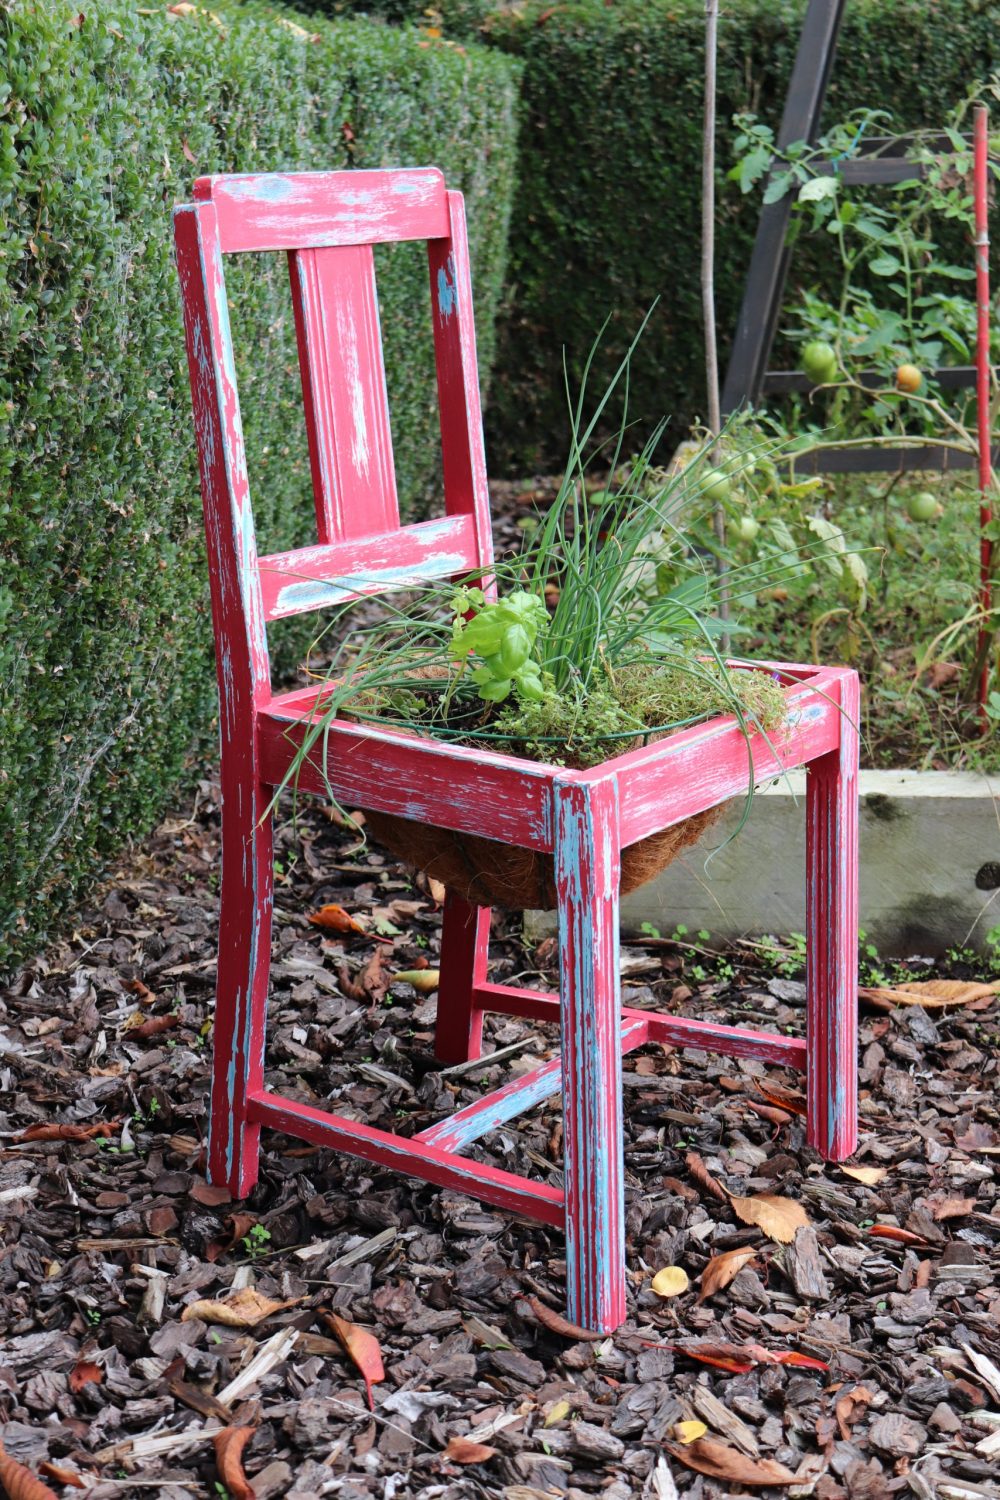
I decided, in Level 4 Lockdown, to create an Outdoor Herb Chair to add some colour to my veggie patch.
A hanging basket (without the chain) was nestled in the frame of the seat quite comfortably. The herbs I scavenged from the garden, the chair however needed much love in order to look rustically unloved!
I’ve always been keen on distressing furniture particularly as I’ve sanded down so many windows in my years of DIY. I have loved the different colours of paint that emerge with every stroke of the sandpaper from decades of maintenance and colour changes. Distressed window frames have been so rustically pretty. I’ve wished I could leave them that way (but alas, not good for windows long term)!
Having a single dining room chair taking up room in the garage was good inspiration. I’d been given four dining chairs some time ago to repurpose – no seat cushions, full of borer. Three went into the making of a Chair Bench Seat for NZ Lifestyle Block magazine and the other was left abandoned taking up space.
 How to Distress Painted Wooden Furniture
There are several ways to distress paint (a) dry distressing – using sandpaper (b) wet distressing – by removing a layer of paint with a wet cloth before it has time to fully cure and (c) resist distressing – by covering some edges with wax before a layer of paint so it doesn’t adhere.
This project involved DRY DISTRESSING and here’s how I did it:
Step 1: Prepare the wood
Just like any item of indoor furniture that is going to live outside, expect decay over time. The idea is to keep it as weather proof as possible for as long as possible, much as you would do for weatherboards or window sills. If you have a wooden chair in your sights to distress, the odds are that it is covered in varnish or old paint. Use sandpaper to scuff off as possible. While it sounds counter intuitive, you want your paint to stick. If there is borer, you may wish to treat it with borer spray at this point.
 Step 2: Prime
Use a wood primer to paint the first coat. This will help protect the wood from the elements. Bearing in mind that as the feet will be in contact with the soil, it will be the first to decay as indoor furniture is not treated nor designed to be in contact with earth for prolonged periods of time. Remember to paint them too to help extend their life.
Step 3: Paint multiple Top Coats
If you are going for the multi-colour layer look, as I have done, have fun painting your chair with your chosen colours. I’ve used dark green, grey, blue, white and red from half pots and test post I have stashed in my paint cupboard. Allow several days between coats to allow each layer to cure properly. While touch-dry in an hour, you want each layer to harden properly. As you sand it down later, you’ll want each layer to come through well without the paint bubbling or pulling.
When applying each top coat (for example, blue over white) you’ll see that one coat will left it a bit streaky. That’s OK as these are the in-between layers. If you don’t have perfect coverage or get a ‘dribble’ of paint here and there, don’t stress. These will be perfect places to start once you begin to sand it back down. However, when you have decided on your final exterior colour, apply two coats of that sample colour so the overall piece of furniture looks ‘finished’ as you won’t be sanding off the entire surface.
 Step 4: Distressing
Once the final coat has well hardened, arm yourself with fine-grit sandpaper. 120 grit is a good start but feel free to down down to 80 grit for a more robust sanding down. Start to sand back the edges or panel work that would naturally begin to wear first. Remember the layers of paint you’ve used and stop before you reach bare wood if you can (as this first layer of paint or primer will help protect it from the elements).
Use a wet cloth to wipe away the sanded areas as you go so you can get a good feel for the distressed finish without the sandpaper dust!


September 2, 2020
I’m 80 coming up in Dec. A long time ago they sold a 2 part paint kit which I refinished several wood sets with. I feel I’ll use your method now to refinish some furniture
Thanks.
September 25, 2020
Thanks Emmett! Give it a go and let me know how it turns out. There are many ways to distress wooden furniture and I certainly had fun this way. Happy birthday for December too! >>Julie