Not to miss out on something big I grew half a bed of curly kale in my garden, with great success too! But what do you actually do with kale?
Oh, for the love of kale. I’d heard so much about this trendy wonder food.
It comes as very much ‘rediscover moment’ to read that until the middle ages, kale was one of the most common green vegetables in all of Europe. There are many varieties out there but they come from the brassica family (think: cabbage, cauliflower, broccoli, the Brussels sprout and a variety of all the weird-and-wonderful breeds in between).
Leaves of the Curly Kale in its young form can be used for garnish, or in a green leaf salad (slightly on the peppery side as rocket can also be). Otherwise the thick stalks can be removed then the leaves sliced and added to mashed potato, in frittata or added to a stir fry – or if you are up for a nutrient packed breakfast, added into a banana smoothie. Cavolo Nero is another type and has a darker leaf and grows similar to fancy lettuce whereby you pick off the outer leaves and the stem continues to grow taller producing more leaves.
I’ve already discovered the goodness of broccoli leaves (aka Broccoleaf that you’ll find in the supermarket) and delighted to now know that kale is its healthy roomie. It is a good source of vitamin A, C and K plus copper plus a whole bunch of things you probably can’t pronounce (but believe me, it’s all good).
The easiest discovery ever, is how to turn these mean greens into bite sided edible chunks of yum: Kale & Broccoli Leaf Chips.

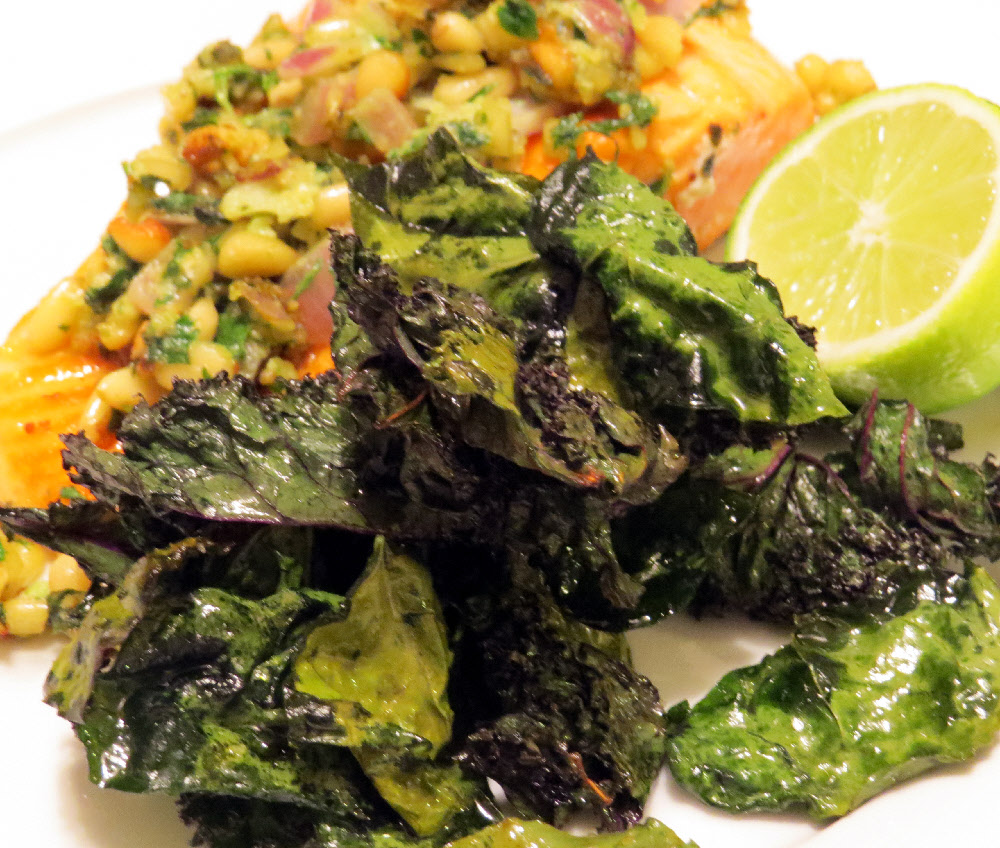
Kale & Broccoli Leaf Chips
Ingredients
- 3-4 kale and broccoli leafy stems
- olive oil
- salt
Method
- Preheat oven to 180ºC.
- Remove the leaves from the stalk and wash well, patting dry with a paper towel before use. Roughly chop or shred the leaves with your fingers and lay on an oven try lined with baking paper. Keep the stalks to add to a vegetable stock for another day. To encourage even cooking ensure the leaves are in a single layer.
- Drizzle with olive oil. Sprinkle with salt and bake for 15 minutes. They will be beautifully crisp and ready to eat, just like in the restaurant down the road! Be sure to check on the baking process after around 10 minutes. You don’t want the chips to go brown or burn. They should be a vibrant green from garden to plate.