We have a wonderfully humble little bungalow we call home. We are deep into renovations and very happy to say we’re reinstating its original 1920’s glory rather than modernising it beyond recognition.
Sure the bathroom has a flushing loo and the kitchen has a ceramic cook top but the essence of the original wooden floors, tall skirting boards, high ceilings, exposed beams and wooden window frames are our interpretation of how things once were.
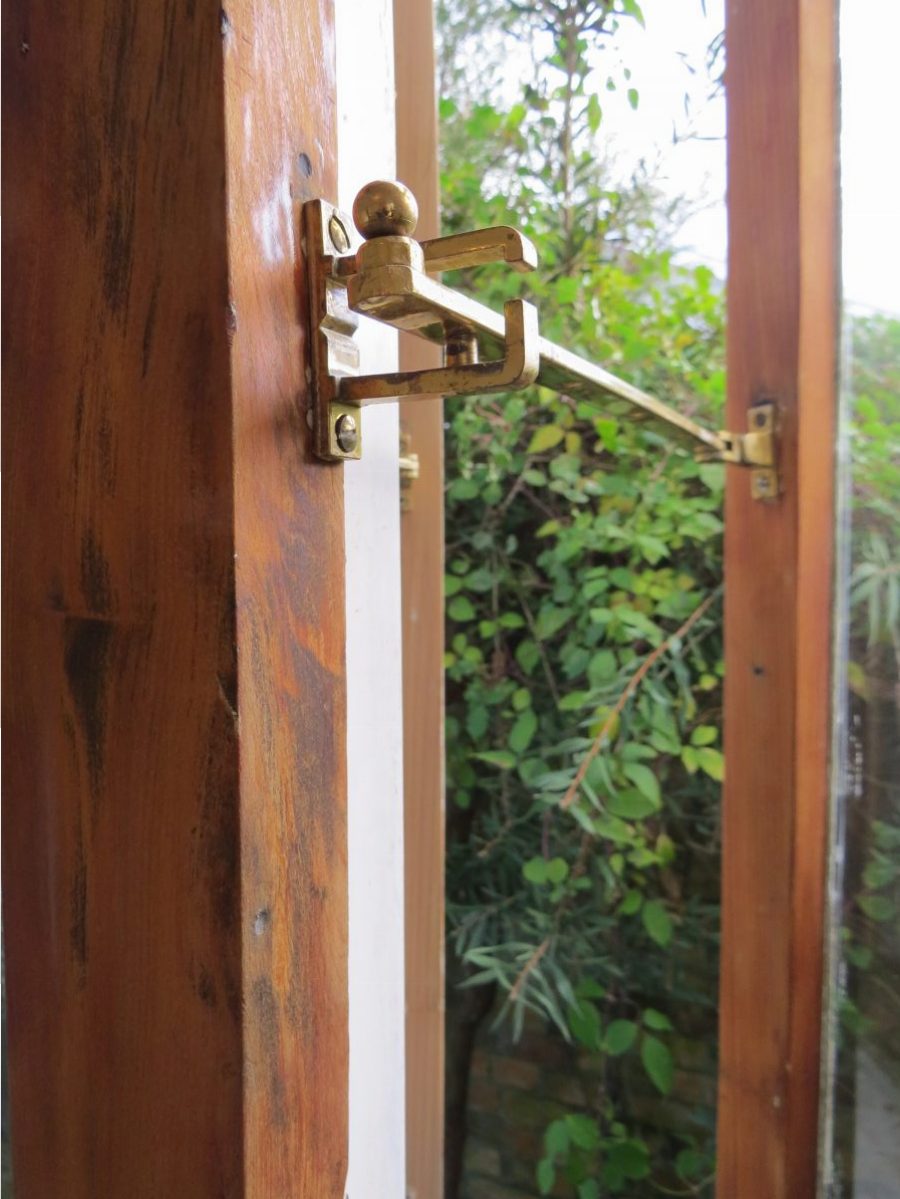
We’re well into half of the house renovations. One joy has been stripping off 90 years worth of paint to reveal native wood timber window frames and sills. OK ‘joy’ may be something reserved for the finished result. Getting there takes hours upon hours of hard work. Still, if you are looking to achieve the same original bungalow qualities we’d highly recommend you do.
 Any words of advice we can pass on?
Key things, according to us:
Be ready for anything. You don’t know what’s under all that paint! Window frames may not always be matching twin sets. Be prepared for rimu frames and cedar windows (or vice versa) of varying colours; from very dark chocolate through to a light cream. On closer inspection, each window may not have the same intricate design work, requiring a different approach to paint removal from a variety of challenging nooks and crannies. There may be numerous nail holes, rot and even borer damage. Don’t panic.
Paint Stripper: First things first, you have to remove the paint. Obvious as it may seem, it can get a bit tricky. Start with quality paint stripper. The cheap stuff doesn’t always return the best result. You’ll need stripper and stripping tools. Don’t feel the need to apply thick layers of stripper with your paint brush. It can only do so much! A thin layer at a time and a sharp tool will get the majority of the job done.
 Stripping Tools: Getting into corners takes patience. Several sizes and shapes of paint scrapers: from a flat 1 inch wide blade for the bulk of the work, to curved and pointed blades for difficult areas. Be sure not to scratch the glass itself as it is susceptible to marks that will cost plenty to either remove the scratch, or the whole pane will need to be replaced for aesthetic reasons.
Sanding: When you think you are ‘almost there’ get out the electric sander. Using 80 grit paper for stubborn areas in-ground remaining paint should come off effortlessly. The closer you get to the glass, trade in the electric sander for small sections of regular sandpaper to undertake painful sections of intricate sanding. It seriously can take days to do!
 Patience: Odds are you won’t get every last bit of paint off. There comes a point that you just need to accept that what you are doing is clearly not going to be a perfect brand new window. If you are looking for perfection you’d need to remove each window, remove glass and putty and have each window strip-dipped (a process where the entire window is lowered into a vat of strong chemicals to dissolve paint).
Filler: There may be stubborn areas where nail holes have been filled with paint, or gouges have been created through wear and tear. We use a hand held modelling drill (a rotary tool, a Dremel 200) which has a round fine stone head to remove paint and old caulk from holes. Fill holes with the closest colour-matched Timbermate, wipe off with a damp cloth, then lightly sand. Ebony, walnut, rimu and pine colour tones are available. Just because a pot says rimu doesn’t mean it’s the colour of all rimu! You may find in patches a completely different colour works best.
Finishing Sanding: Smooth off wooden surfaces with a 120 grit sandpaper, depending on what finish you want. If you want to polyurethane the windows you’ll want to work down through the grades making the wood as smooth as possible. We choose to Danish Oil the windows instead which is a forgiving matt finish and doesn’t require high level of smooth surfacing. Regardless, after our sanding and brushing off the dust, we finished off with #000grade wire wool to get it ‘oil ready’.

Oiling: This is our preference. Two coats should do the trick (allow to dry between each coat). We love Danish Oil and use for all sorts of wooden surfaces (including wooden floorboards in 2 x test rooms, and cedar panel doors). It helps feed the wood but also protect it too. Three coats and it is water resistant to a degree. We will finish off the window sills with no sheen polyurethane because this is very resistive to hot coffee cups and doesn’t detract from the overall look of the window.
Oiling is my absolute favourite DIY job ever. The wood comes alive with every stroke. Patterns, knots, grains and colours are accentuated beyond belief. Hold your breath and apply. I hope you enjoy it as much as I do!

We never set out to make these windows perfect. We simply love the glory of wooden frames and plan to enjoy them for as long as we are in the house. Odds are you’ll sell the house and someone will paint over the lot of them. So, be pragmatic and don’t drive yourselves nuts.


April 1, 2024
Thank you for taking time to create this post. Currently renovating my 1945 bungalow in Hobart, Tasmania and found the same block putty so I’ll be extra careful now.
Struggling a bit to work out how to fill big holes in timber left by sash holes when the last owner replaced the window with double glazing. Will get there in time.
April 2, 2024
Hi Rachel, you are most welcome! Wishing you all the best for your renovations. >>Julie
September 27, 2022
Great post you guys!! And the windows turned out looking great! I’m in the process of doing something similar with my house from the 1930s. I have been using a heat gun to get the old paint and caulk off which has been working pretty well. But I did notice that there’s some black tar looking stuff in between some of the joints. It comes out but no idea what it is or if I should try my best to get it out and then use wood putty in its place when reapplying? This is specifically the wood trim around the windows, did you guys happen to run into anything similar? Any advice would be greatly appreciated!!
September 30, 2022
Hi Lauren, thanks so much! Old windows need love. Thinking back, yes we did find black goo between the glass and the wooden windows too, which we scraped out before filling and painting. At the time we thought it was decaying wood or grime. I just did a google and found that it may be a little nasty (they used to add asbestos to putty) and it is a brown/dark grey colour. So definitely remove it and definitely take precautions. Here’s the link I found which makes for interesting reading: https://www.asbestos123.com/news/asbestos-in-window-putty/
February 7, 2022
Howdy. When you say you use the clear polyurethane on the windowsills, do you use the Danish oil too first, then polyurethane over the top?
Thank you :)
February 14, 2022
Hi Terene, yes the Danish oil will soak in leaving a rich looking colour, then once dry, polyurethane over the top. Perfecto! Happy DIYing >>Julie
April 24, 2021
What would the cost be to strip and restore an old wooden door, average cost here in NZ
April 27, 2021
Hi Sue, sorry I can’t guide you on prices. Probably best you get some quotes from your local furniture restorer/dipper/stripper. We didn’t get ours striped, although we did restore a door ourselves: lashings of paint stripper, plenty of patience and varying sandpaper grits to get the perfect finish. All the best with your renovations. >>Julie
May 7, 2024
In 1994 it was $800 per 1910 era doors I had done in an old villa to dip strip and condition and finish them with a satin poly. To do it they take off all the handles and any latch or doorknob or mechanism. Although it was expensive, it saved time and they took it off and put back in for the price, travelling the doors to dipping place and back when they had finished them. They looked absolutely sensational.
May 11, 2024
Hi Heather, thanks for sharing! It sounds like they did an excellent job. Nice work. >>Julie
December 18, 2020
Hey
How did you guys get around any lead issues in the paint with it being so old?
Currently renovating my bungalow and found it very time consuming since anything Pre 1970s should be treated as having traces of lead in it
December 18, 2020
Hi Liam, we aren’t experts when it comes to dealing with toxic materials, just used common sense the best we could: made sure there was plenty of ventilation, masked up (a must) with a ventilated mask, goggles and gloves, then regularly collected any old paint or flakes and sealed it in a plastic bag. It’s toxic stuff so avoid contact with skin/eyes/mouth — wash your hands and face often, shower after every session (it gets in your hair). Would suggest you use paint stripper for the bulk of it and only sand the last difficult bits at the end. Good luck with your renos! >>Julie
July 14, 2020
Years later and your advice is invaluable. 1920s sash window that was painted shut. Thanks for the advice guys
July 15, 2020
Hi Jennifer, you are SO welcome. We are glad our experience helped a bit! Delighted that your patience and hard work paid off too! >>Julie
May 12, 2020
WOW your windows look amazing well done! and thanks for sharing
March 8, 2020
Hi im currently doing mine and was going to repaint but this is beautiful ,only our window is near the shower, its not a closed shower so it propbably isnt a good idea to just use oil being so close to water right?
March 9, 2020
Hi Samantha, as I haven’t personally been in that predicament, perhaps it’s a good idea to confer with your local DIY store or oil supplier – to be sure. Good luck with your DIY! >>Julie
July 13, 2019
I am living on waiheke island I am renovating my place ,I decided to strip the paint off my windows and discovered beautiful native timber in all its glory, well worth the effort .
March 2, 2019
Looks great! Am thinking of stripping my 95 year old windows, however they also have old chipped putty… did you windows need reglazing?
March 4, 2019
Hi Emilie, we didn’t need to reglaze but the ‘putty folks’ did warn that sometimes when removing old putty glass can crack so to be prepared for some new panes if things don’t go to plan. Good luck! >>Julie
February 2, 2019
You have really helped me by giving the valuable information through this blog. Thanks and keep sharing this kind of information.
June 26, 2018
utterly beautiful – you must be so pleased!
July 19, 2018
Thank you Hanna! Much of our work is HARD work, but done with love and the results are awesome. Thanks for your feedback. >>Julie
October 17, 2017
Looks fantastic . What paint stripper did you use as I am in the process of doing our windows .
Looking for a good paint stripper
October 17, 2017
Hi Peter, great question. We used Polystripper. It’s twice the price of ‘Diggers’ but worth it. We found cheaper meant less quality (and we tried a few) which ended up taking more layers and hours of work than necessary. We recall we bought it at Bunnings. That’s our 10 cents worth, anyway. Happy DIYing! >>Julie
July 19, 2016
Well done guys. Looks like hard work but the result is great.