While well underway on a self-decreed Backyard Makeover, I am rapidly rediscovering that best-laid plans of mice and men need to allow for side-track projects.
I love the joy of a segway moment amidst DIY…ahh. You just never know what you’re gonna get. A bit like a box of chocolates that Forest Gump talked about.
It’s winter and our fruit trees needed pruning. As part of our to-do list, which is getting longer by the day, was to prune back the guava, peach, apricot and mandarin tree for a start. We have around 15 fruit trees but these needed some attention: to prompt good bud growth and make the fruit at least within technically a realistic harvesting height.
On a tea break (and oh, we have plenty on a DIY day) and with pruning saw in hand, my Englishman eyed up the dead orange tree.

Back story: unfortunately it died a few seasons ago (the orange tree, not the saw). It was riddled with citrus borer and any new growth died within months of any underlying optimistic tendencies to sprout.
Last season we began our mourning process and whilst pondering its future, upcycled it into an ornamental ‘Cuppa Tea Tree’ aka a bird feeder. While it looked a bit mad with our eclectic china tea cups and saucers, it wasn’t so alluring to sparrows who preferred to ignore our creative attempts. The cat enjoyed it though as it captured rain water and was more appealing than the tap water we otherwise offered.
The last six months the ‘Cuppa Tree Tree’ morphed into the ‘Garden Tool Hanger’, our go-to place to find a hand trowel or spade, until last weekend that is.
Well, my Englishman is a bit mad and sometimes one has to let one’s creativity flow. I’m glad he did. This was a superb idea! Last weekend, our dead orange tree was upcycled yet again into a permanent fixture: an outdoor table.


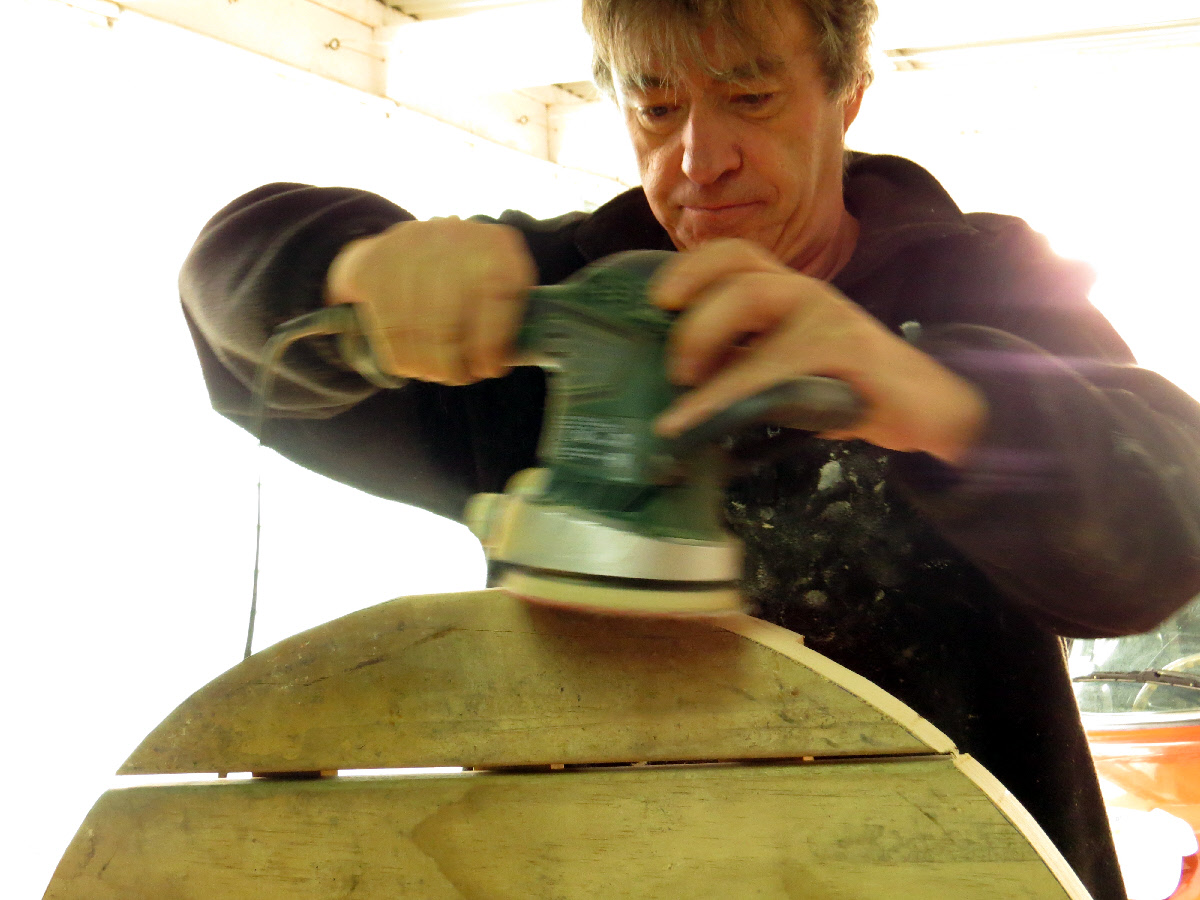

A picture says a thousand words, so I won’t go into too much detail.
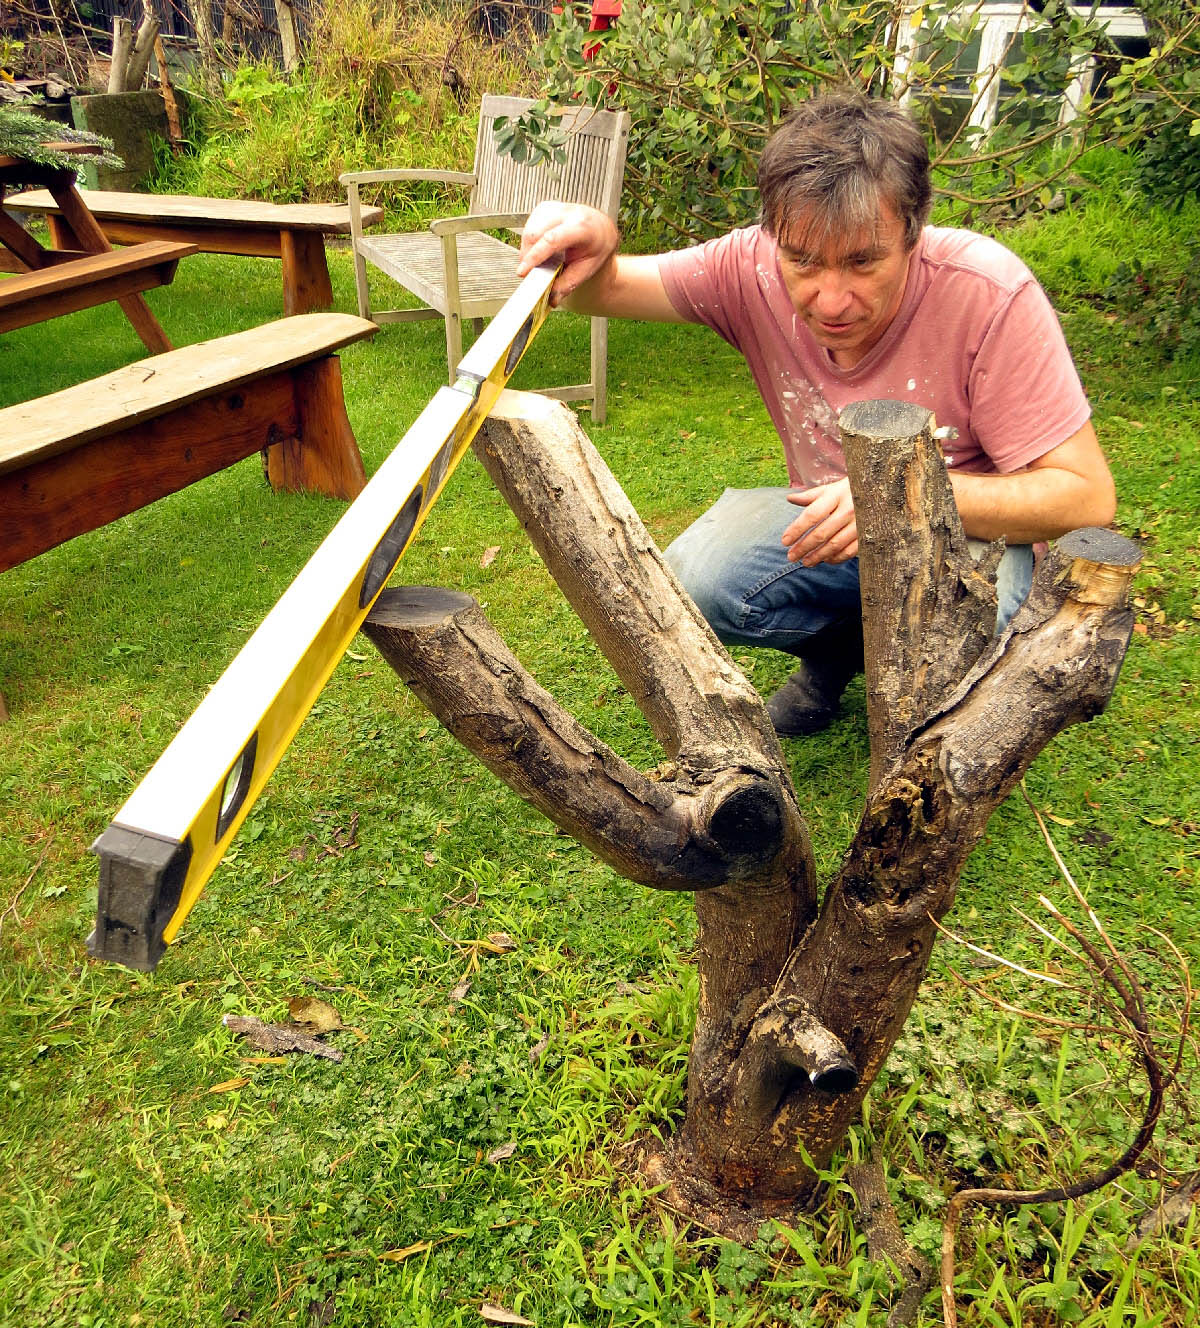
- Sprawling tree branches were measured and leveled off
- Spare treated decking wood was nailed together into a simple square platform (with supporting planks underneath)
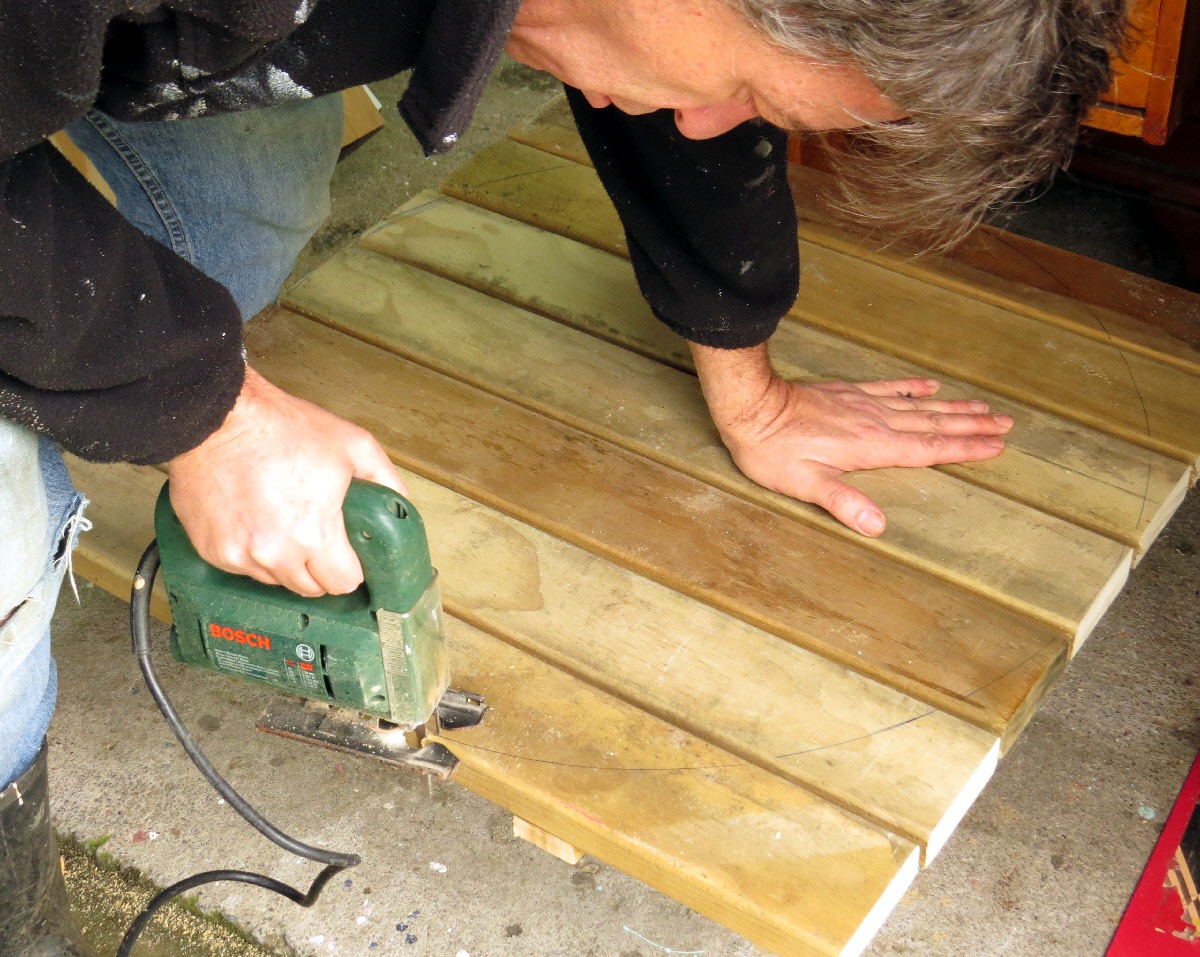
- A true circle was drawn (the old ‘nail in the centre’ tied to a piece of string and a pen does wonders, like back in primary school)
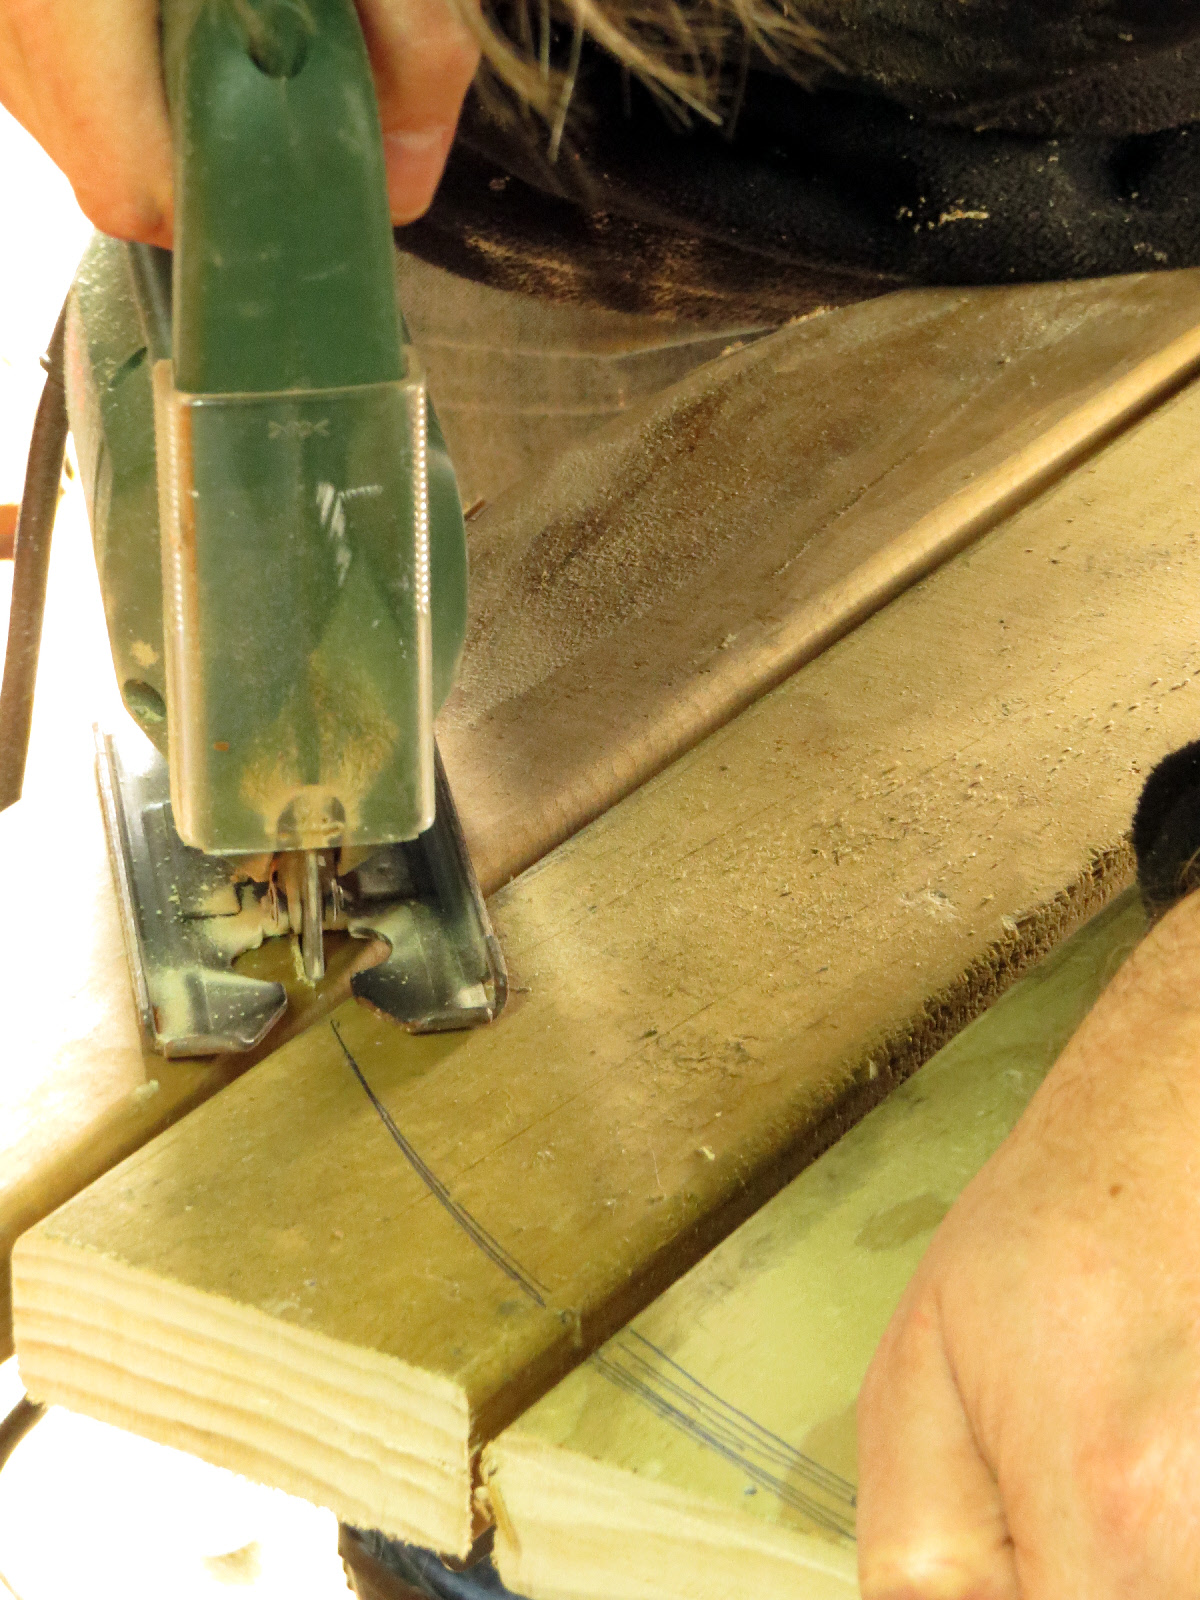
- Using a jigsaw, or whatever you have handy, cut along the dotted line
- Sand off any rough edges from the sides, and the table top itself (we used a handy WorkMate bench that had the ability to clamp the frame together to make a secure grip)
- Dust off and give the wood a quick stain and allow to dry
- Strategically nail to said trunks
- Pull up a chair and have a cuppa
Now, where were we? Ahh yes, the Backyard Makeover: My Damn Good Gardening Project!


February 2, 2024
Hi,
I came across your tree stump table. Very original idea, and not at all what I would have expected a tree stump table to look like. I’m in the process of putting together a UK based gardening blog site and I’d love to use one of your pics (outdoor-table4-640x480_c.jpg) to illustrate just what can be done – with your permission of course.
Wherever the image is used I would include a reference to https://rediscover.co.nz/
Please let me know how you feel about this.
Kind Regards
Anthony
February 2, 2024
Hi Anthony, thanks so much for requesting permission – yes, it would be lovely to have our eclectic projects pop up in the UK, go for it. Please if possible Photo credit: Julie Legg, https://rediscover.co.nz. Thanks a bundle >>Julie