This Smoky Bacon-esque Coconut Chip recipe is vegan, I am not. Why not however, enjoy some simple foods that simply taste delicious?
The smell of salty, smoky bacon is still a fond memory, although eating meat isn’t a desire for me these days.
Inspired by Minimalist Baker I have made several batches of smoky coconut chips – such a glorious aroma, crunchy texture and delicious with the peace of mind that no little piggy got hurt in the process.
Seriously delicious sprinkled over pasta, soup, warm roasted vegetable salad or homemade pizza, it brings the plate alive. I catered for my own wedding back in January this year and having a ‘seasoning’ like this at hand was fabulous – it jazzed up a salad in an instant.
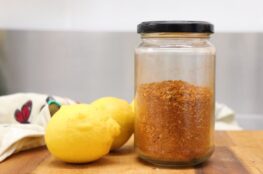
While prone to go soggy if left in the open, it will retain it’s flavour. Best to keep in an airtight container.

The secret ingredient is Liquid Smoke, a potent yet essential part of the process! While this isn’t a paid advertisement for Hickory, I must recommend them as they are the only of its kind I have spotted that has done the trick. While it was no doubt intended for meat use, they may be giggling into their sleeve at the use with coconut – but hey!


 Smoky Bacon-esque Coconut Chips
Ingredients
- 2 cups coconut flakes (120g pack)
- 1 Tbsp olive oil
- 1 Tbsp soy sauce
- 1 tsp paprika
- 1 Tbsp maple syrup
- 2 Tbsp liquid smoke
- 1/2 tsp black pepper
Method
- Preheat oven to 150C
- Combine all ingredients in a bowl.
- On an oven tray lined with baking paper, spread out the coconut mix in a single layer. If you need to do it in two batches, do.
- CAREFULLY watch as it is toasted, and bake for 12 minutes, turning at least once during this time.
- DISCLAIMER….just when you think all is rosey it will get extra toasty and border between golden brown to burnt! Depending on your oven, whether fan or regular, best pour a glass of wine and watch intently through the glass door.
- Allow to cool then store in an airtight container.
Enjoy!