I recently received one of the most thoughtful gifts I’ve ever been given in a very long while. It wasn’t something bought from a shop. It wasn’t wrapped in fancy paper. It came in buckets. It was compost, bokashi compost.
My dad is 85 years old. He lives in a first-floor apartment with only a tiny patio and no garden to speak of. Yet somehow, over the past few weeks, he’d quietly been turning his kitchen scraps into beautiful, rich compost using nothing more than a couple of plastic buckets. Needless to say, I was impressed. Proof that you don’t need a fancy composting system.
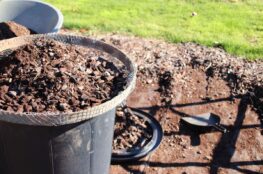
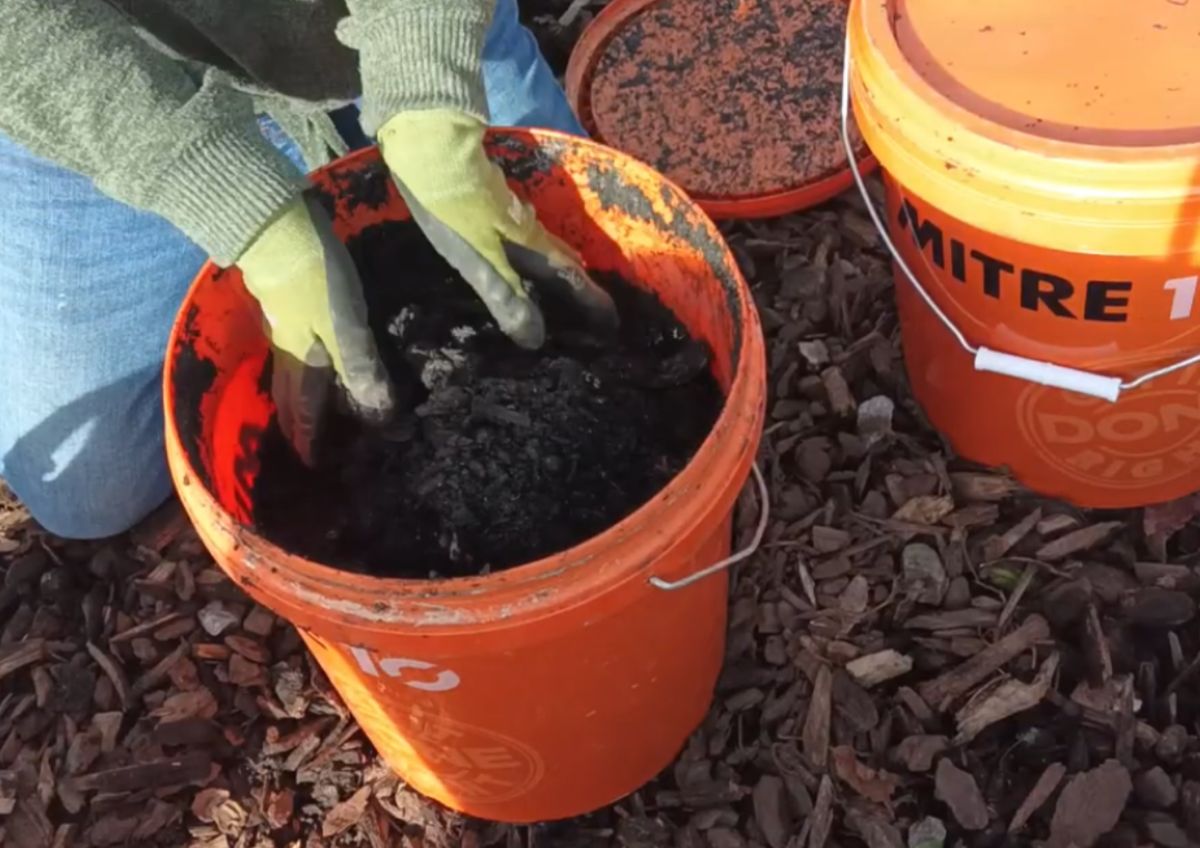
Walk into any garden centre and you’ll find Bokashi starter kits complete with specially designed buckets, Bokashi bran and bottles of EM (Effective Microorganisms). They’re convenient, but they’re not the only way. Dad simply bought two buckets from Mitre10 and got started.
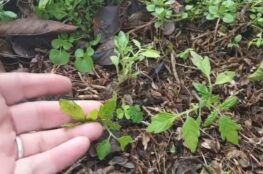
The compost he produced was incredible. Rich, dark and earthy. You could still spot the occasional pumpkin skin or grape stalk, but everything else had broken down into what I affectionately call “black gold”.
What is Bokashi composting?
Bokashi is a Japanese composting method developed during the 1980s by agricultural professor Dr Teruo Higa. Unlike traditional composting, which relies on oxygen and regular turning, Bokashi is an anaerobic process. In other words, it works without air. Instead of rotting, the food scraps ferment. The result is very little smell, very few pests and a nutrient-rich material that finishes breaking down quickly once it’s buried in soil or added to a compost heap. It’s perfect for apartments, patios and small spaces… and for giving to appreciative daughters who do a lot of gardening!
What Dad did
His system couldn’t have been simpler.
- Two large buckets with tight-fitting lids.
- Kitchen scraps added regularly.
- A small amount of rich garden soil sprinkled through the layers (although there are other options you’ll see further down the page)
- The lid kept firmly closed.
- Every so often he’d tip the bucket upside down and gently rotate it to help redistribute the contents.
- When looking a ‘bit wet’ he’d drain the liquid that naturally collected in the bucket… but kept it! This nutrient-rich liquid (often called Bokashi tea) should always be diluted well before watering plants.
What can you put into a Bokashi bucket? One of Bokashi’s biggest advantages is that it accepts many things a traditional compost heap struggles with (or the chickens dislike, or the worm farm worms are picky over).
Good additions include:
- Fruit and vegetable scraps
- Citrus peels
- Cooked vegetables
- Cooked rice and pasta
- Bread
- Coffee grounds
- Tea leaves and tea bags (remove plastic where possible)
- Eggshells
- Cheese and small amounts of dairy
- Cooked meat
- Raw meat
- Fish and seafood
- Small bones
- Crushed nutshells
Because the process is sealed, these foods ferment rather than attracting flies or rodents.
What should you avoid? There are still a few things best left out.
Avoid adding:
- Large bones
- Large amounts of cooking oil or fat
- Excess liquid such as soups or sauces
- Plastic, foil or other non-food materials
- Garden weeds or large amounts of woody garden waste
- Diseased plants
The aim is to keep the bucket relatively dry. Too much liquid can slow fermentation and make draining more difficult.
Do you really need Bokashi bran?
Commercial Bokashi systems use bran inoculated with Effective Microorganisms (EM1). It certainly helps speed the fermentation process. But plenty of home composters have found success without buying commercial products. Dad simply sprinkled in a little rich garden soil from time to time, introducing naturally occurring microbes.
Other simple materials that can help inoculate the bucket include:
- Finished compost
- Worm castings
- A handful of healthy leaf mould
- Coffee grounds mixed with compost
- A little soil from an established vegetable garden
These won’t exactly replicate commercial EM1 cultures, so fermentation may be a little slower or less predictable, but they introduce beneficial microorganisms at virtually no cost.
The key ingredients remain the same:
Keep it airtight.
Drain excess liquid occasionally.
Add food scraps regularly.
Be patient.
For me, it’s not just about making compost, it’s about making gardening simpler. A bucket is easy to lift, easy to carry, easy to tuck onto a deck or patio. There’s no turning compost with a fork and no giant heap taking over the backyard. Most of all, it’s a reminder that sometimes the simplest solutions are still the best.
At 85 years old, he’s still teaching me new gardening tricks. And I couldn’t be prouder.