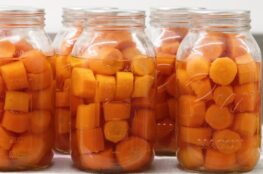
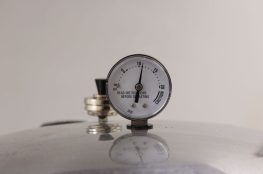
Beetroot without the vinegar? Absolutely! Just beautiful ruby-red beetroot in salted water, ready to enjoy straight from the pantry… with the help of my pressure canner.
And because I hate waste, I’ll be making good use of the leaves and stems too. Three pantry staples from one humble vegetable!
Why Pressure Can Beetroot?
I’ve pickled plenty of beetroot over the years, but sometimes I just want beetroot that tastes like, well, beetroot! Plain preserved beetroot is wonderfully versatile in salads, soups, roast vegetable dishes or simply warmed with a little butter.
Beetroot is a low-acid vegetable. Pickling with a tested vinegar-based recipe makes it suitable for water bath preserving. Without that acidity, beetroot must be pressure canned to reach the temperatures needed for safe, shelf-stable storage.
So, out comes the pressure canner!
First, Let’s Not Waste Those Leaves!
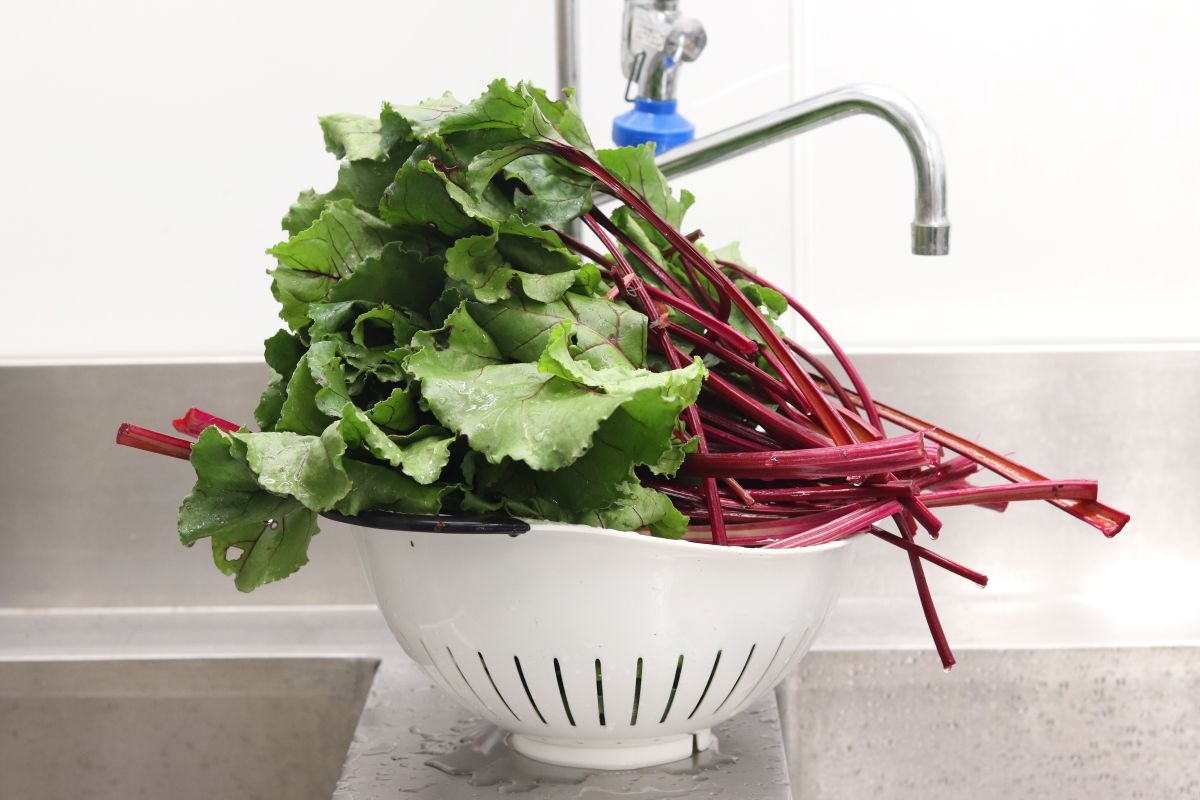
Before getting started, I trim the tops, leaving around 2.5 cm of stem attached to each beetroot. Then I wash the leaves and strip them from their stems.
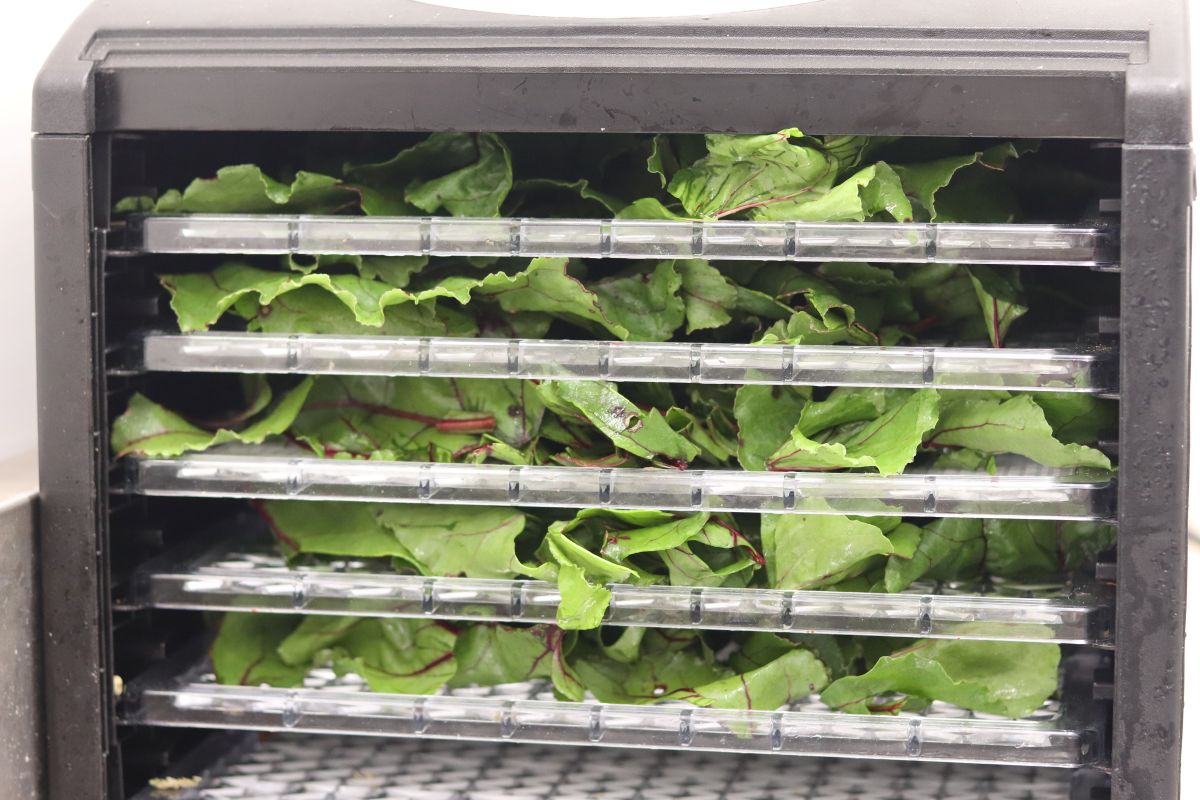
The leaves: I chop and dehydrate these until brittle, then blitz them into a powder. They join my jar of mixed green powder, alongside spinach, silverbeet, chard and other edible greens. Brilliant for adding to soups, stews and sauces.
The stems: These are chopped and dehydrated separately (they take a little longer to dry), then added to my homemade dry soup mixes.
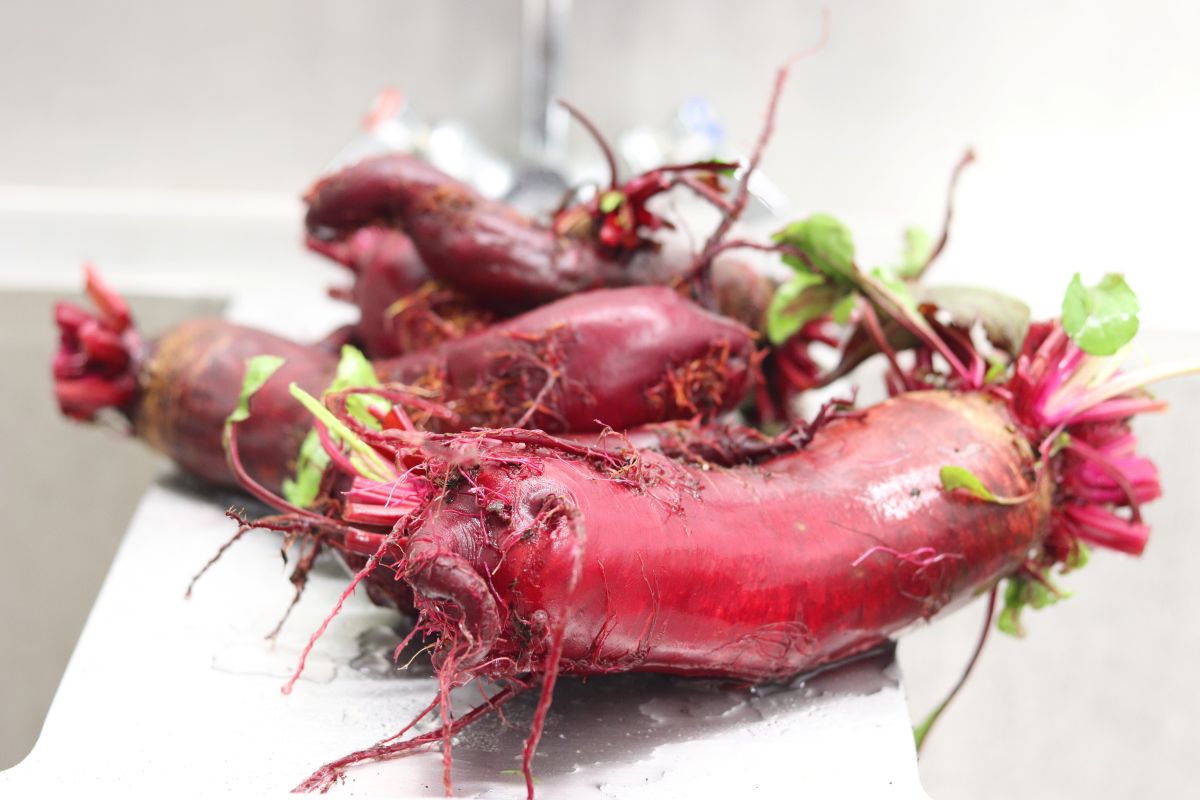
Preparing the Beetroot
The easiest way to peel beetroot is to boil it whole until the skins slip off. It’s not about cooking it completely; the pressure canner will finish that job.
- Leave approximately 2.5 cm of stem and the roots intact to help prevent that gorgeous red colour bleeding into the cooking water.
- Wash thoroughly, then boil for approximately 15–25 minutes, or until the skins loosen.
- Remove from the water and carefully rub off the skins. Trim the stems and roots.
- Leave small beetroot whole (up to 5 cm diameter), and cut larger ones into chunks or slices.
- Keep the peeled beetroot hot, ready for packing.
Preparing and Filling the Jars
I’m using 500 ml preserving jars, thoroughly washed and rinsed. Jars don’t need pre-sterilising for pressure canning, but they should be kept hot to prevent thermal shock.
I warm mine in the pressure canner with a little water inside each jar. This is simply to keep them hot, not part of the pressure canning process although you may have other ways of doing this (in the oven, dishwasher etc).
With my canning station ready, I work with one hot jar at a time:
- Empty the warming water and pack with hot, peeled beetroot.
- Add optional non-iodised sea salt for flavour*.
- Cover with fresh boiling water, leaving 2.5 cm (1 inch) headspace.
- Remove air bubbles and recheck the headspace.
- Wipe the rim with a clean cloth dampened with white vinegar.
- Apply the prepared lid and screw band, fingertip-tight.
- Place in the pressure canner and repeat.
*Adding salt is purely for flavour and doesn’t contribute to the preserving process.
Pressure Canning the Beetroot
Follow your canner manufacturer’s instructions for the correct water level. Mine requires 3 US quarts of water and I add 2 tablespoons of white vinegar to help prevent mineral deposits.
Add your hot jars, secure the lid and vent a steady stream of steam for 10 minutes before bringing the canner to the required pressure.
The USDA tested processing times for plain beetroot are 30 minutes for US pint jars and 35 minutes for US quart jars, at the appropriate altitude-adjusted pressure. For my dial-gauge canner, the required pressure below 2,000 ft is 11 lb.
Start timing only when the required pressure is reached. If the pressure drops below the required level, bring it back up and restart the full processing time.
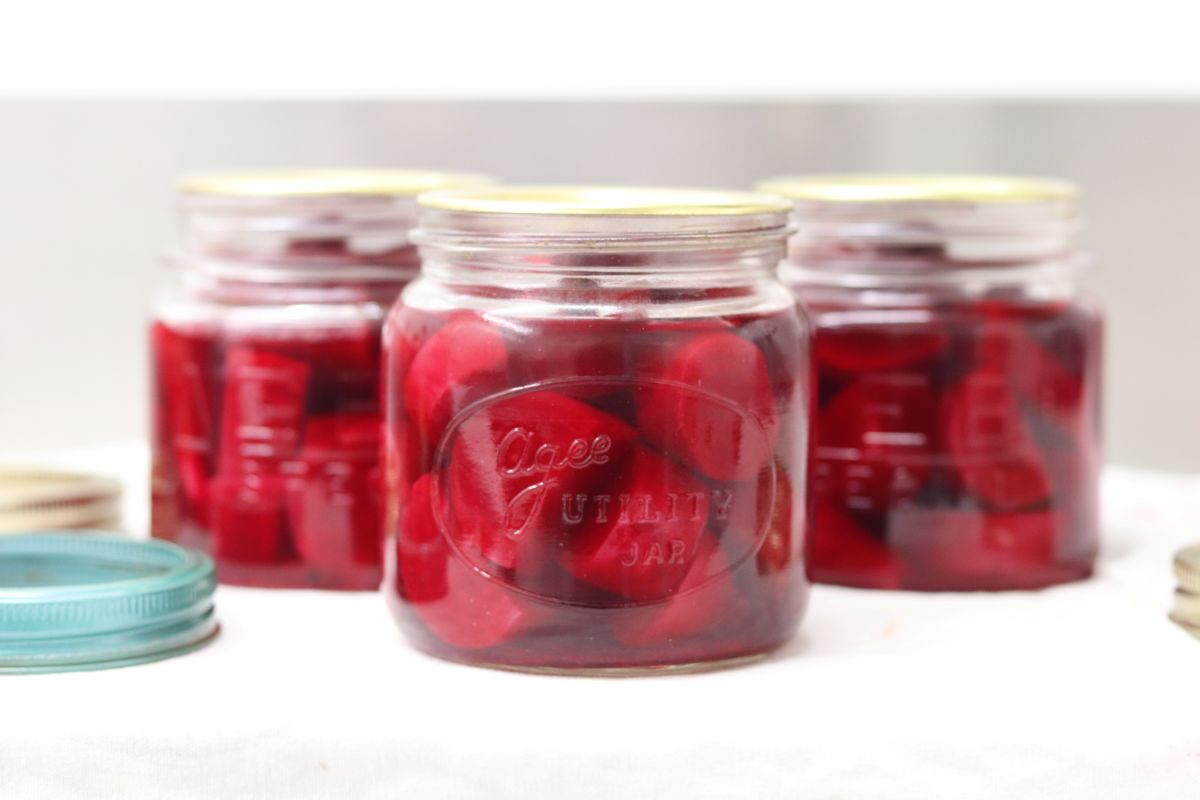
Cooling and Checking the Seals
Once processing is complete, turn off the heat and allow the canner to depressurise naturally. No shortcuts!
When the gauge reads zero, the pressure lock has dropped and it’s safe to proceed, remove the weight or open the vent as instructed. Wait another 10 minutes before carefully opening the lid away from your face. Transfer the jars to a towel-covered surface and leave undisturbed for 12–24 hours.
Listen out for those satisfying little pings as the lids seal. Music to a preserver’s ears!
Once completely cool, remove the screw bands and check each lid has sealed securely. If a jar hasn’t sealed, refrigerate promptly or follow tested instructions for reprocessing within 24 hours. Wipe, date/label and store properly sealed jars in a cool, dark, dry pantry without their screw bands.
For best quality, aim to enjoy your preserves within 12 months.
Tested recipe reference: National Center for Home Food Preservation – Beets, Whole, Cubed or Sliced