Pressure canning. It sounds a little intimidating, doesn’t it? All those gauges, knobs, weights, strict instructions and, of course, the word pressure. What could possibly go wrong?
Well, quite a lot if you don’t follow the instructions, but I’m pleased to report that after a few successful batches, my initial nerves have been replaced with a rather satisfying sense of achievement.
I’m relatively new to pressure canning myself. Having spent years preserving fruit, making jams, pickles and relishes, I decided it was time to venture into the wonderful world of pressure canning low-acid foods.
And what a revelation!
Imagine preserving carrots, beetroot, beans and other vegetables in nothing more than water, with a little optional salt for flavour. No vinegar, no sugary syrup, no pickling spices. Just vegetables, ready to enjoy months down the track.
If you’re thinking of giving pressure canning a go, here are a few tips I’ve picked up along the way.
1. Get Your Jars Organised First
This sounds ridiculously simple, but trust me, it’s worth mentioning. There’s nothing worse than being elbow-deep in vegetable preparation only to realise your jars aren’t ready.
Before I start preparing my produce, I make sure I have enough suitable preserving jars, all checked for chips and cracks, thoroughly washed in hot soapy water and rinsed.
Now, here’s something worth knowing. Jars don’t need to be separately sterilised when pressure canning (as they do when water bathing), as the processing within the pressure canner itself takes care of that. Regardless, however, the jars need to be clean and, when hot-packing, kept warm to avoid thermal shock.
One job done. On to the next!
2. Set Up a Little Canning Station
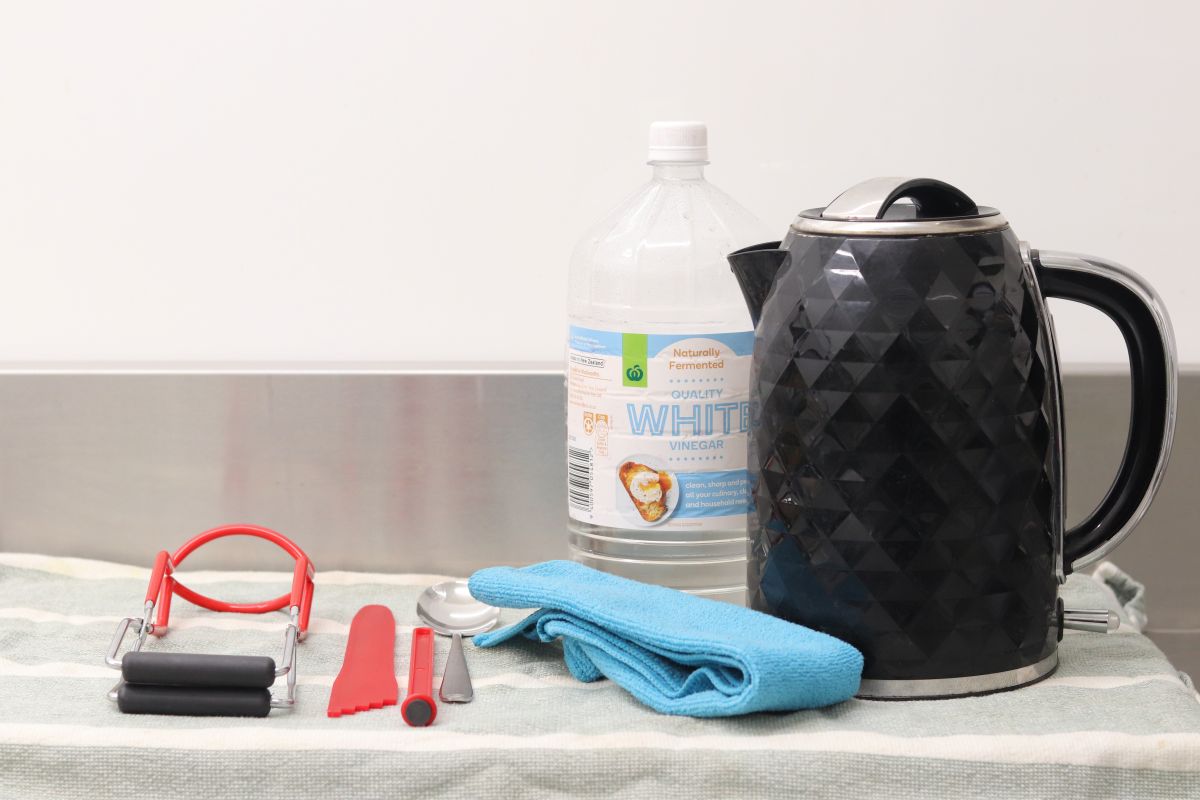
I’m a great believer in having everything within arm’s reach, particularly when timing and hot jars are involved. You don’t need a mountain of fancy equipment, but a few inexpensive gadgets make the job considerably easier.
A magnetic lid lifter: This handy little gadget lets you pick up lids without burning your fingers. Modern canning lids generally don’t need to be heated beforehand, so always check the manufacturer’s instructions.
A bubble remover and headspace measuring tool: Mine has a long, flat end for gently releasing trapped air bubbles once the jar has been filled. The other end has little steps for measuring headspace. Many pressure canning recipes specify 1 inch (2.5 cm), although this varies depending on what you’re preserving.
A jar lifter: An absolute must! A sturdy jar lifter makes moving hot jars in and out of the canner much safer. Don’t be tempted to use an ordinary pair of kitchen tongs.
A spoon or ladle: Handy for adding or removing liquid to achieve the correct headspace.
A clean cloth and white vinegar: I keep these close by for wiping jar rims before applying the lids. A little vinegar on a clean cloth is particularly useful for removing greasy residue, although plain water is generally sufficient for vegetables packed in water.
A kettle: One of my favourite tips! When pressure canning vegetables using a hot-pack or raw-pack method that calls for boiling water, having a kettle ready saves racing around the kitchen at the last minute.
These are all little things, but together they make the whole process run much more smoothly.
3. Prepare Your Vegetables Before You Start Filling Jars
Not all vegetables require the same amount of preparation.
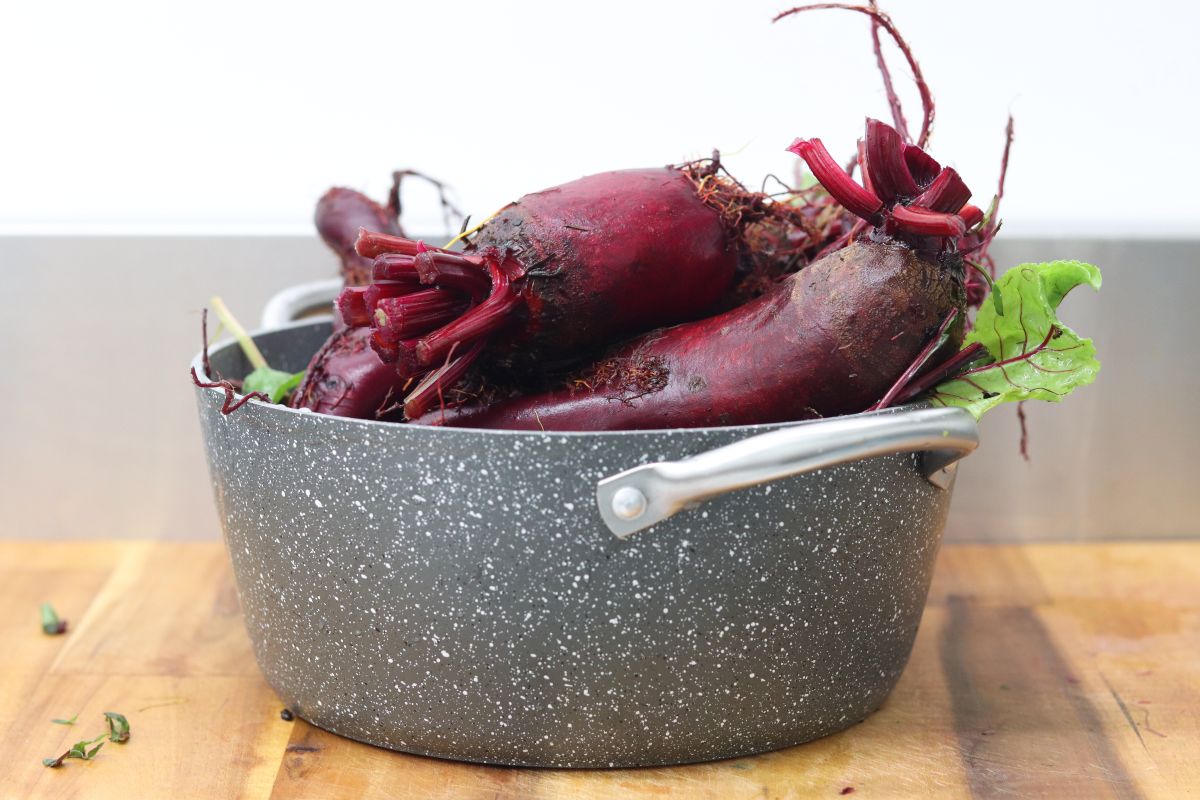
I recently pressure canned plain beetroot, and goodness me, the preparation took longer than I anticipated! The beetroot needed cooking sufficiently to loosen the skins, peeling and cutting before it was ready for the jars.
Carrots, on the other hand, were a breeze. A quick wash, peel and slice, and I was ready to go.
One thing I’ve learned is that you can’t assume all vegetables can be prepared or pressure canned in the same way. Some need peeling, some require precooking, and others can be packed raw. Certain vegetables aren’t recommended for home pressure canning at all.
Follow the preparation method in your tested recipe rather than making substitutions. The size, density and preparation of the food all influence how heat penetrates the jar.
4. Get to Know Your Pressure Canner (and Your Stove!)
This has probably been my biggest learning curve. Pressure canning isn’t particularly complicated once you understand the process, but you do need to become familiar with your equipment. Read your pressure canner’s instruction booklet. Then read it again!
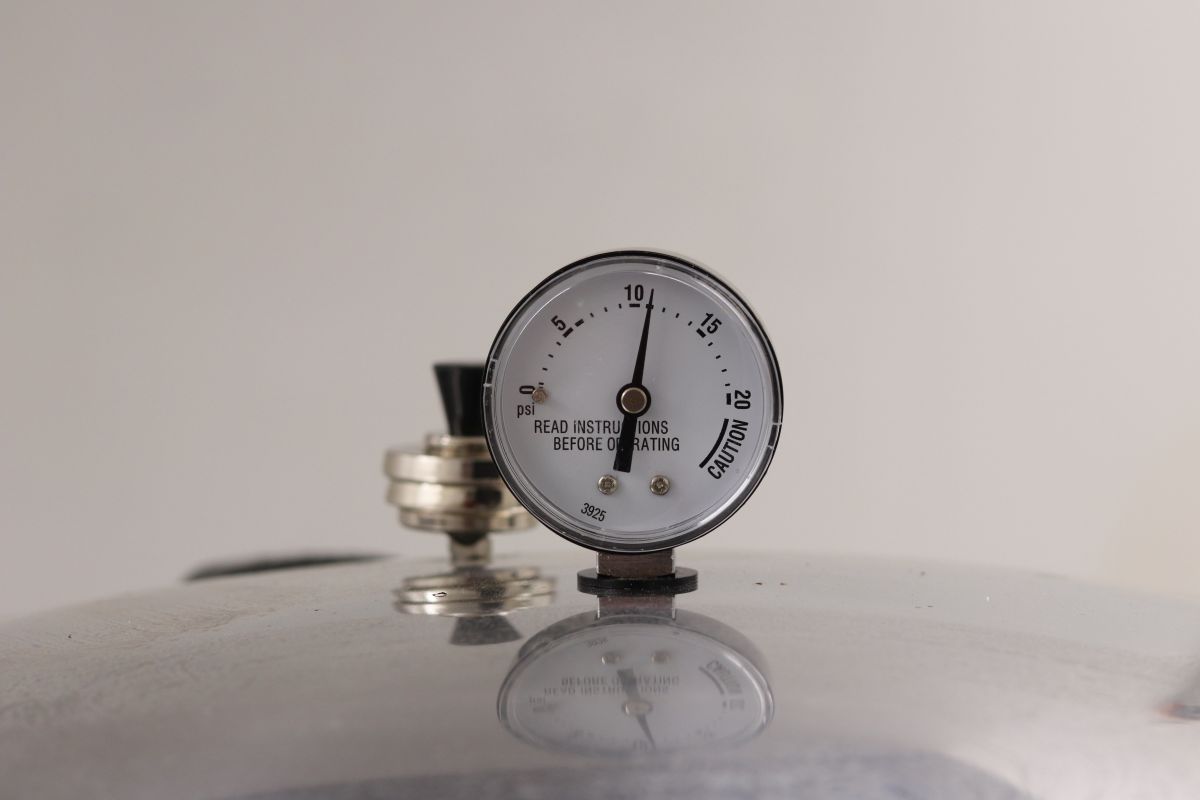
Know how to vent the canner, how to recognise when it has reached the correct pressure, and how to maintain that pressure throughout the required processing time.
And don’t forget your stove. I’m using a commercial electric stovetop, and I’ve discovered that adjusting the heat is rather like turning a ship around. It doesn’t happen instantly! Unlike gas, where you can turn the flame up or down and get an almost immediate response, my electric elements take their sweet time.
If the pressure starts creeping upwards, turning the heat down doesn’t necessarily produce an instant result. It’s taken a few batches to get a feel for how my stovetop responds, and that familiarity has made the process much less stressful.
A word of caution: if the pressure drops below the required level during processing, you generally need to bring it back up and restart the full processing time, following the tested instructions.
It’s also important to adjust the required pressure for your altitude and the type of pressure gauge you’re using.
5. Don’t Rush the Cooling Process
Once the processing time is complete, the temptation is to get those jars out and admire your handiwork.
Not so fast! Turn off the heat and allow the canner to depressurise naturally, following the manufacturer’s instructions. Don’t remove the weight early, force the lid open or attempt to speed up cooling with cold water.
Once the canner has fully depressurised, follow the recommended waiting period before carefully opening the lid away from your face. Then lift out your jars and place them upright on a towel or rack, away from draughts. Leave them undisturbed for 12–24 hours while the seals form and the jars cool.
And yes, hearing those lids ping is rather satisfying!
6. Tested Recipes Are Your Best Friend
Now, this is where things get serious. Botulism. Not a particularly sexy word, is it? But it’s one we need to understand when pressure canning.
Low-acid foods, including most vegetables, can provide an environment in which Clostridium botulinum spores survive and potentially produce a dangerous toxin if the food isn’t processed correctly.
You can’t reliably see, smell or taste botulinum toxin. This is why pressure canning is necessary for low-acid foods intended for shelf-stable storage. Unlike ordinary boiling-water bathing, a pressure canner reaches the higher temperatures needed to safely process these foods when following a scientifically tested method.
And while I’m all for creativity in the kitchen, pressure canning isn’t the place where I want to improvise. There are plenty of wonderful tested recipes available through reliable sources such as the USDA, the National Center for Home Food Preservation and university extension services. These recipes specify the jar size, food preparation, packing method, headspace, processing pressure and time.
They’re not suggestions to fiddle with. They’re there for a very good reason.
7. Start Simple and Build Your Confidence
My suggestion? Start with something straightforward.
- Carrots are a great example, provided you follow a tested recipe. They’re easy to prepare, relatively quick to pack and don’t require a long list of ingredients.
- Plain beetroot was another satisfying project, although a little more time-consuming in the preparation department.
And that’s one of the things I love most about pressure canning. You’re not necessarily making a finished dish. You’re preserving ingredients that can become part of a meal later. A jar of carrots can be added to a casserole, soup or simply reheated as a side dish.
It’s another way of making the most of an abundant harvest, reducing waste and stocking the pantry with food you’ve grown yourself. What’s not to love?
Don’t Be Scared, Be Prepared!
I’m certainly no pressure canning veteran, but I’ve discovered that the process isn’t nearly as frightening as I’d imagined.
Preparation is everything. Have your jars ready, your equipment organised, your vegetables prepared and your tested recipe in front of you. Take your time, learn how your canner behaves and don’t be tempted to cut corners.
And if you’re not quite ready to give it a go yourself, you’re very welcome to follow my pressure canning journey here at Rediscover. I’ll share the successes, the lessons learned and, should anything go spectacularly pear-shaped, I’ll share that too!
After all, there’s no point in us all making the same mistakes.
Happy preserving!