Harness the sun’s rays and put all that glorious free energy to good use with a homemade solar dehydrator!
Dehydration is one of the oldest methods of food preservation, and with a little ingenuity, you can do it without using a single watt of electricity. So, I decided to build my own solar dehydrator. And what better way to make the most of those scorching summer days?
Why Dehydrate?
Dehydrating removes moisture from fresh fruit, vegetables and herbs, helping prevent the growth of microorganisms responsible for spoilage. It also dramatically reduces their size and weight, making dried produce wonderfully compact for storage. No bulky jars, no freezer space and no electricity required once the dehydrator is built.
Think summer tomatoes for winter soups, dried apple slices for snacking, or herbs ready to sprinkle into your favourite dishes. And let’s not forget emergency supplies. Lightweight, shelf-stable food is always worth having on hand.
When properly dried, packaged and stored in a cool, dark place, many dehydrated foods can last for months, sometimes a year or longer. Quality and storage life depend on the produce, drying method and conditions.
My Homemade Solar Dehydrator
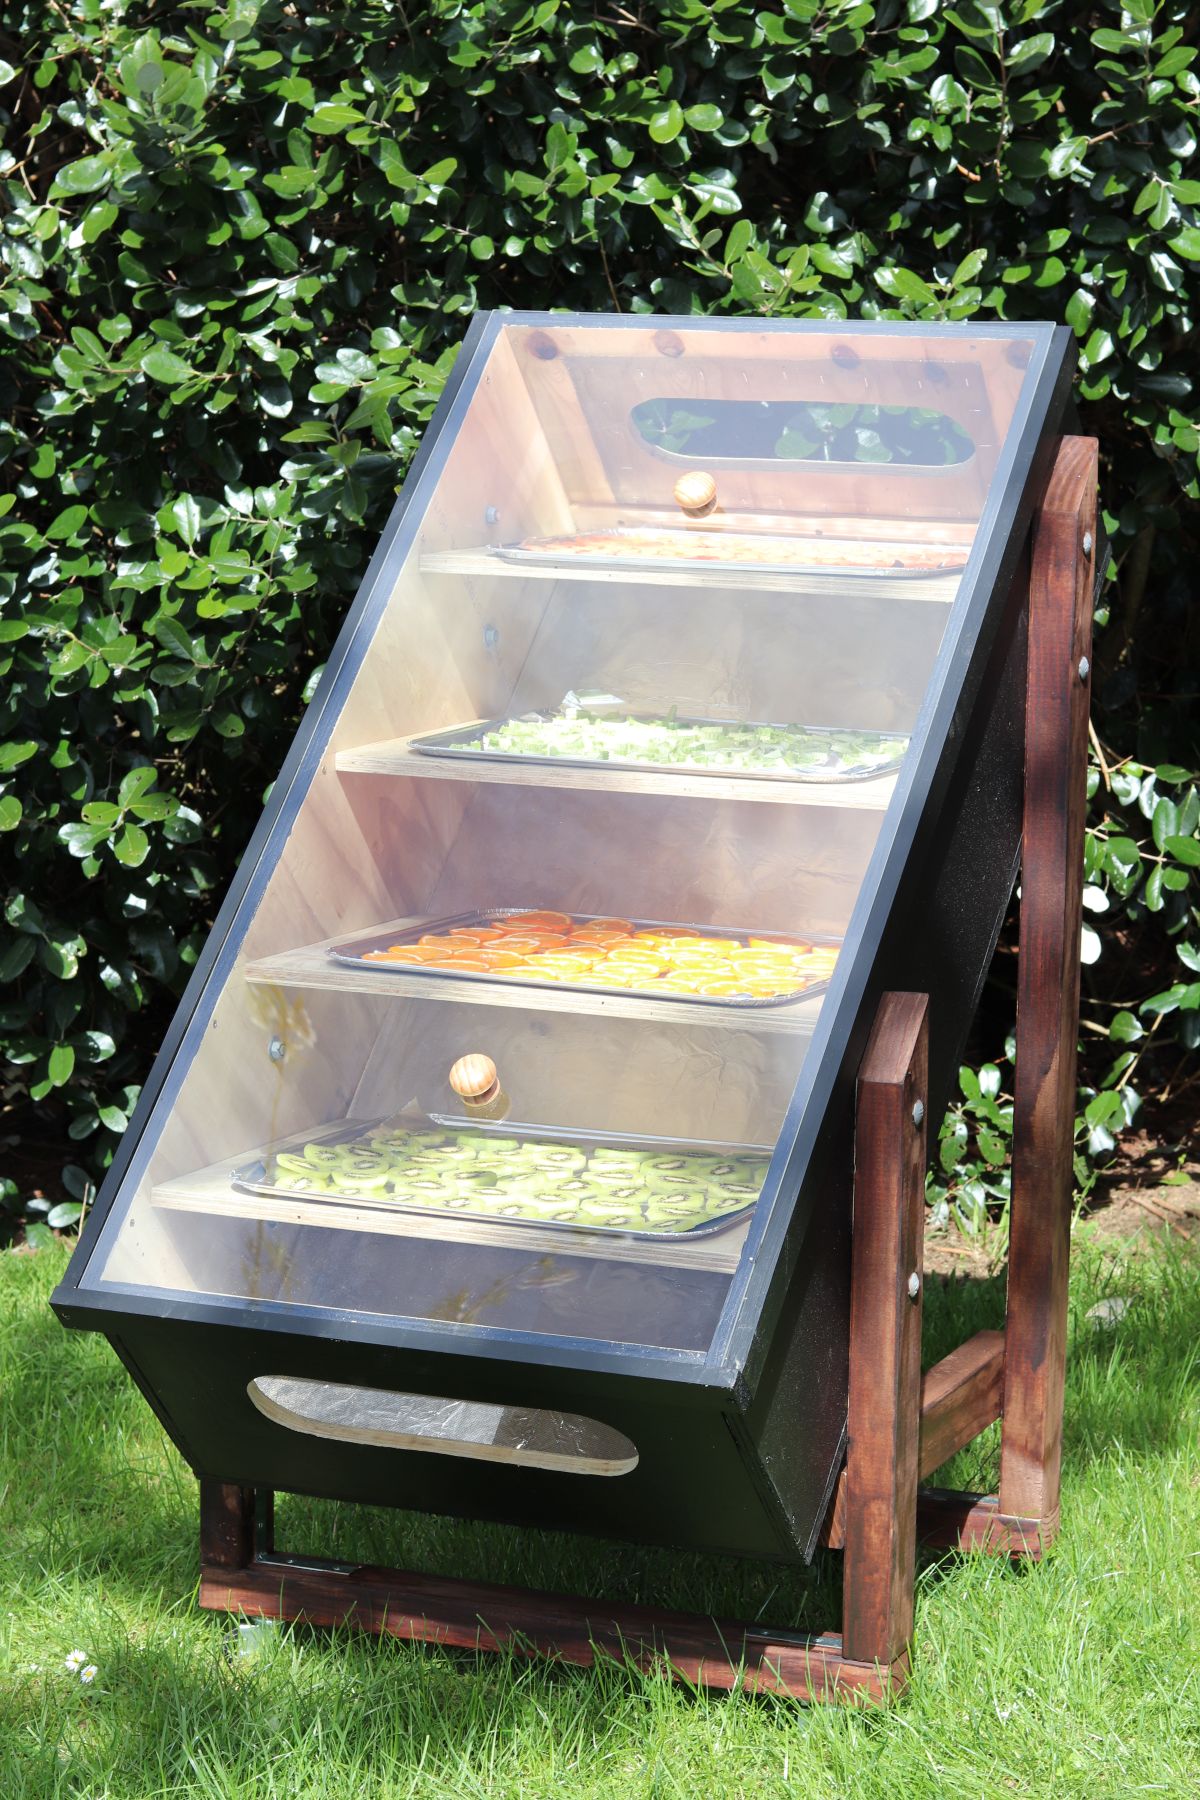
The concept is surprisingly simple. A box with internal shelves, a clear Perspex front and insect-proof ventilation allows the sun to do much of the hard work.
My design includes a few extra touches to make it more efficient.
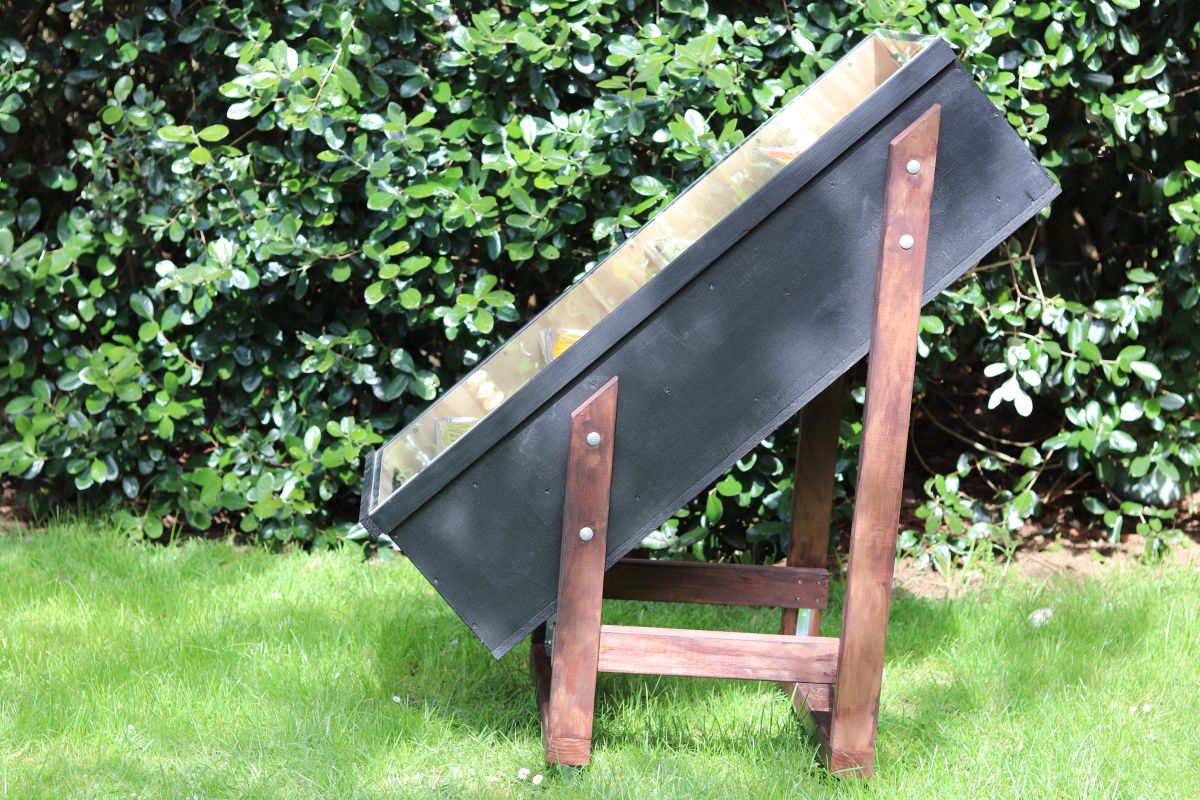
The exterior is painted black to absorb the sun’s warmth, while reflective foil inside helps distribute radiant heat. Mesh shelving allows air to circulate around the produce, and screened vents help warm, moisture-laden air escape.
And because the sun doesn’t stay in one place all day, I’ve added castor wheels. A quick push around the garden and my dehydrator can chase those glorious rays!
I’ve based the dimensions around a standard sheet of Perspex, keeping the design practical and the materials relatively affordable. There’s also room to add more shelves as required.
Most of the materials can be sourced from a local timber or DIY store, although recycled materials could work equally well, provided they’re clean, food-safe and suitable for heat exposure.
As seen in my article on NZ Lifestyle Block Magazine ages ago! Download written DIY SOLAR DEHYDRATOR Instructions and check out the Solar Dehydrator Drawings to help guide you.
What Can You Dehydrate?
There’s plenty of inspiration growing in the garden or sitting in the fruit bowl.
- Fruity favourites: Apples, pears, bananas, plums, persimmons and citrus slices. Perfect for snacks, baking or adding to homemade muesli.
- Vegetable goodness: Tomatoes, carrots, zucchini, celery, beans and kale. Ideal for soups, stews and other cooked dishes.
- Herbs: Rosemary, thyme, oregano, parsley, mint and sage. A brilliant way to capture those summer flavours for winter.
Some produce needs pretreatment, such as blanching or an anti-browning dip, before drying. It’s worth checking a tested dehydrating guide for the particular fruit or vegetable.
Sunshine, Temperature and Patience
Unlike an electric dehydrator, there’s no thermostat to set and forget. Mother Nature is in charge! Temperature, humidity, airflow and the thickness of your produce all influence drying times.
I prepare my produce in thin, evenly sized pieces, spread them in a single layer across the trays and allow plenty of room for air circulation.
The biggest challenge is consistency. Solar drying works best during reliably hot, dry weather. New Zealand summers can be humid and unpredictable, so several sunny days don’t necessarily guarantee safe drying.
For long-term storage, it’s important to follow tested drying guidance rather than relying on appearance or a fixed number of days. Some foods should be leathery and pliable when finished, while others should be crisp or brittle. Fruit doesn’t always need to be completely moisture-free, but it must reach the appropriate dryness for safe storage.
And if the weather turns damp or the food isn’t drying quickly enough? I’ll finish the batch in my electric dehydrator rather than risk spoilage.
Storing and Rehydrating
Once properly dried, allow the produce to cool before packing it into clean, airtight containers. Keep containers somewhere cool, dark and dry, and check for condensation or signs of spoilage.
To rehydrate, cover dried fruit or vegetables with water and allow them to plump up. Depending on the produce, this could take anywhere from 20 minutes to several hours. Hot water can speed things along, particularly for vegetables destined for cooking. Some dried foods can even go straight into soups and stews, absorbing moisture as they simmer.
But you may want to eat them ‘as they are’ straight from the jar!
Sunshine on tap, produce on the shelves and not a power bill in sight. Now that’s my kind of preserving!
Happy dehydrating!