Turning leftover materials into something you’ll actually use is always a buzz. Over the years I’ve made plenty of chopping boards from timber offcuts, but one of my favourite projects has been these oversized wooden serving platters.
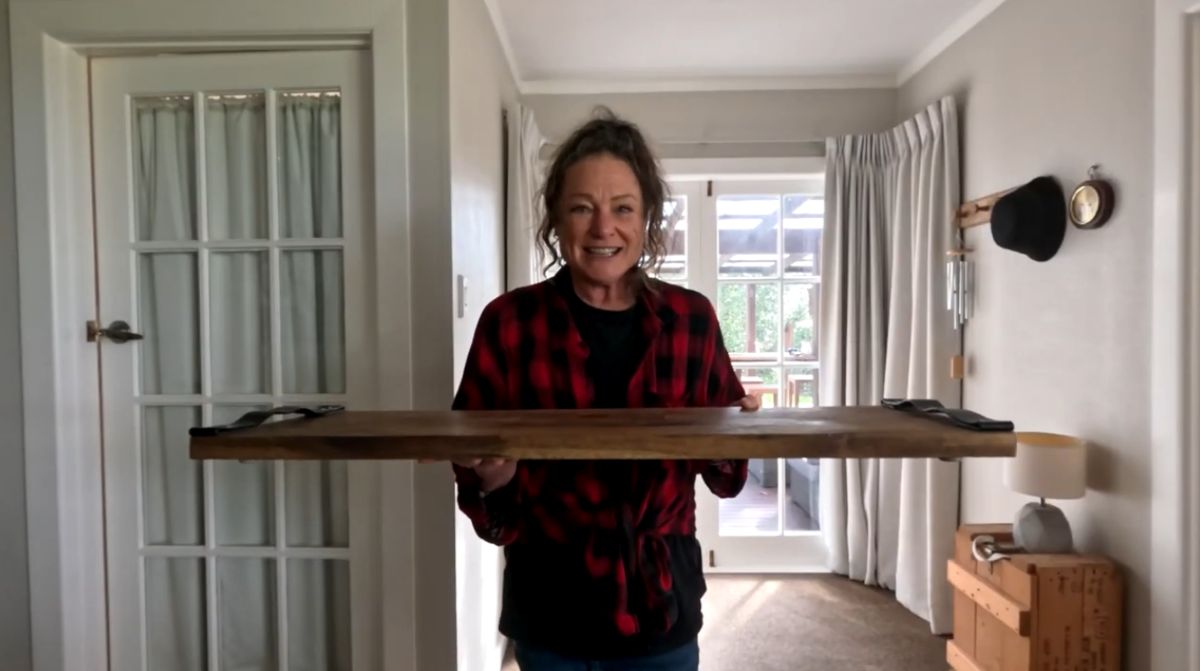
Made from leftover wooden benchtop timber and fitted with simple handles, they’re sturdy, practical, and look fantastic loaded with food. They’ve become one of those items that gets used far more often than I ever expected.
Why Benchtop Timber Works So Well
The timber I’ve used comes from wooden kitchen benchtop offcuts. These are often sold for furniture making and kitchen installations, so they’re designed to be durable and suitable for food preparation areas. If you’ve ever replaced a benchtop or spotted offcuts at a timber merchant, don’t overlook them. They’re ideal for projects like this because they’re already thick, stable, and attractive.
The finished platters are solid. In fact, they’re heavy. But that’s part of their appeal. They don’t flex under load and can comfortably support a full spread of food without feeling flimsy.


Making the Platter
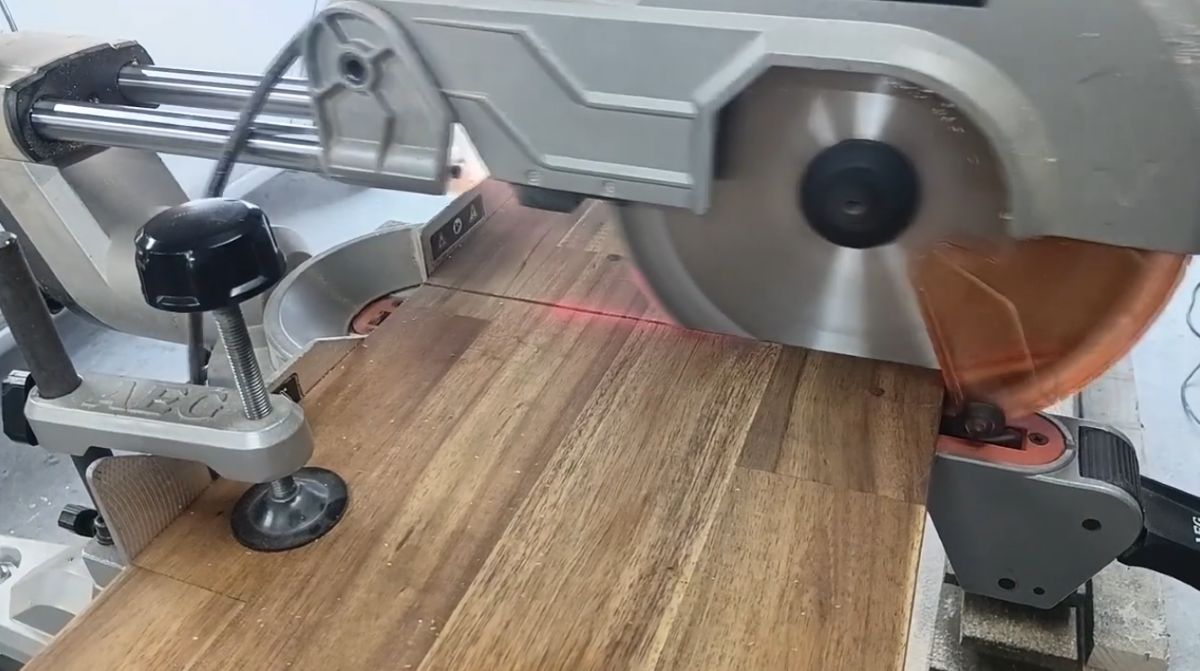
The process is simple. Start by cutting your timber to the desired size. One of the advantages of using benchtop timber is that you can go much larger than a standard chopping board.
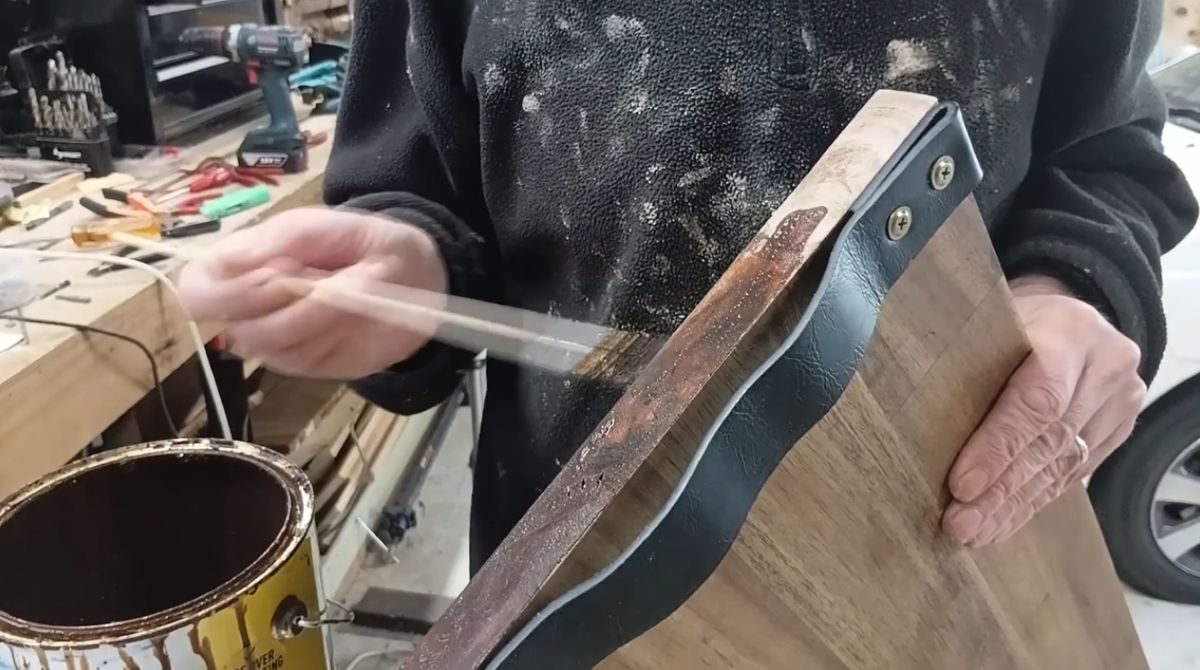
Once cut, sand all cut surfaces thoroughly (the top itself will be ready-to-use), paying particular attention to the edges and corners. After sanding, apply a food-safe oil to protect the timber and bring out the grain.
One of the best things about this project is that there are several ways to add carrying handles.
Leather Belt Handles
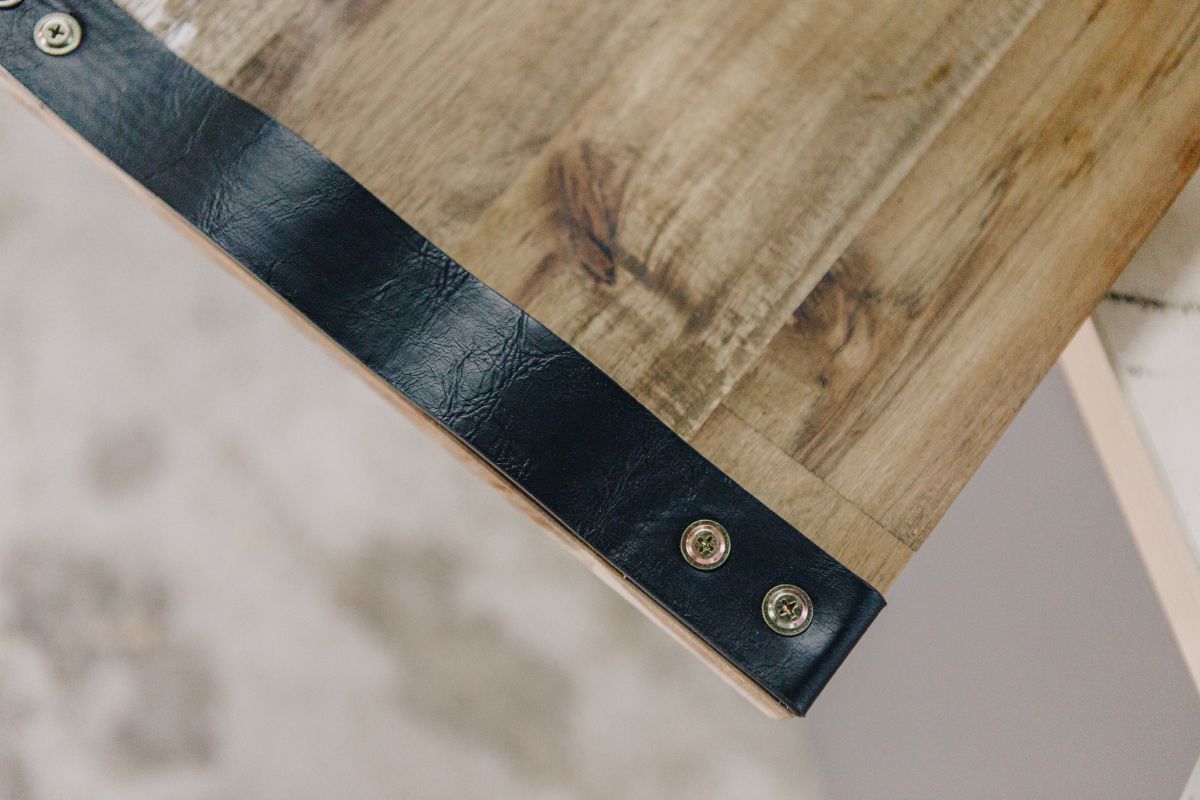
We’ve picked up inexpensive belts, cut them into matching lengths, and screwed them directly onto the top of the board at each end. The leather is comfortable to grip, surprisingly strong, easy to clean, and gives the platter a rustic upcycled feel.
Kitchen Cupboard Handles
If you’d prefer a more modern look, cupboard handles work beautifully. Whether it be black, stainless steel or brass, they certainly can add more refined appearance. They’re readily available (whether new or recycled), easy to fit, and come in countless styles.
Recessed Finger Grips
For a cleaner finish, recessed finger grips can be routed into the underside of the board. Nothing protrudes from the surface, making the platter easier to stack and store while still allowing it to be carried comfortably.
Don’t Forget the Feet!
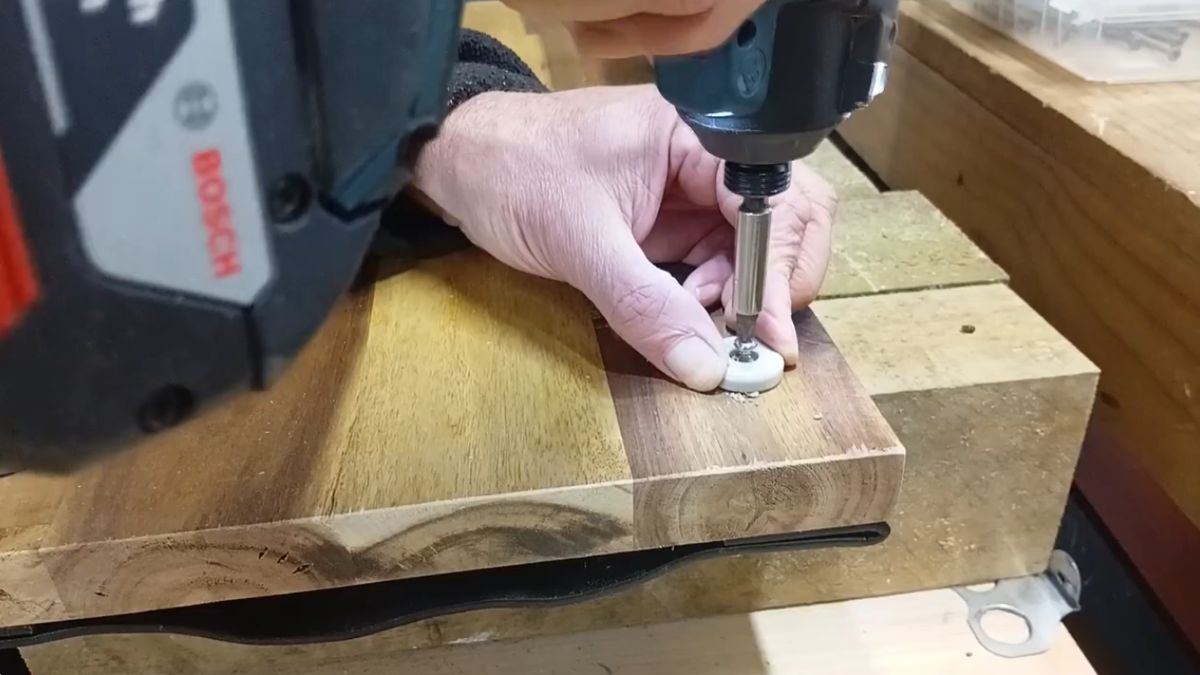
One small addition that makes a huge difference is fitting furniture feet or felt pads underneath the platter. They prevent the timber from scratching tables and benches and help the board sit more securely when loaded with food.
More Than Just a Grazing Board
Most people immediately think of cheese boards and catering platters when they see a serving board like this, and they’re certainly perfect for that! We made several of them for our home-catered DIY wedding, but we’ve also used these oversized platters for virtually anything that can be whisked away in a jiffy. One of ours often sits in the middle of the dining table displaying seasonal decorations, candles, flowers, fruit, pumpkins, pinecones, or whatever happens to suit the time of year.
The beauty of this project is its simplicity. A piece of leftover timber, a few screws, a couple of handles, and before you know it, you’ve created something you’ll use for years.